Pruning
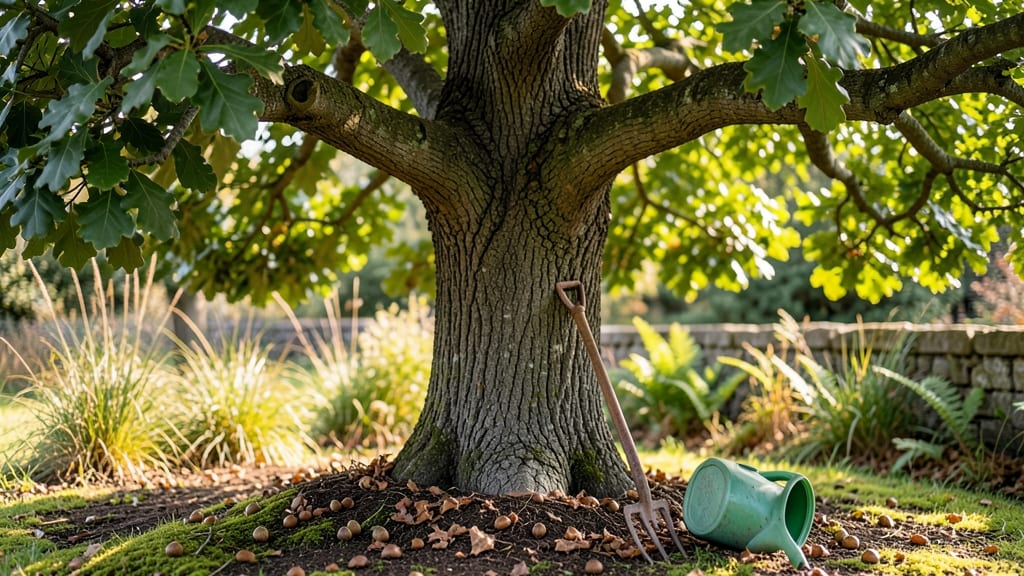
Turning a delicate seedling into a sturdy tree takes more than just time—it’s a dance of patience, pruning, and understanding how plants grow. 🌱 I’ve watched tiny saplings become towering shade trees, and the key isn’t just planting but knowing when to shape, support, and let nature take over.
This isn’t about rushing; it’s about guiding growth year after year so your plant thrives, not just survives.
The first year is all about roots and structure. You’ll focus on soil prep—loose, nutrient-rich, and well-draining—then water consistently without drowning the roots. Sunlight matters too: most trees need at least 6 hours of direct light daily, but young ones often do better with partial shade to avoid stress.
Pruning starts early: pinch back leggy growth to encourage bushier habits, and remove any dead or crossing branches before they compete for energy.
By year three, your tree enters its growth spurt phase. That’s when pruning becomes strategic—thinning out crowded branches for airflow and sunlight, shaping the canopy to prevent weak limbs, and training the trunk to stand strong.
I’ve seen trees go from scraggly to stunning in just a few seasons with the right cuts at the right time. The payoff? A tree that’s healthy, sturdy, and ready to reward you with shade, fruit, or beauty for decades.
This works for fruit trees, shade trees, or even bonsai—adjust the pruning style to match the species and your goals. The science is simple, but the patience? That’s where the magic happens. Let’s get your seedling on the path to greatness.
📚 In This Guide
- What you need
- Instructions
- Tips and common mistakes
- Wrapping up and next steps
What you need
- ● Seedlings: 3–5 healthy, disease-free saplings (species-specific; e.g., oak, maple, or fruit trees). Choose bare-root or container-grown seedlings for best results.
- ● Pruning shears: 1 pair of sharp, bypass-pruning shears (for cuts under ½ inch thick). Dull blades crush stems—avoid this!
- ● Loppers: 1 pair for branches ½ to 2 inches thick (extendable loppers help with taller trees).
- ● Hand pruners: 1 pair for fine-tuning (e.g., shaping, deadwood removal).
- ● Pruning saw: 1 curved-tooth saw for thick branches (>2 inches). Never use a handsaw!
- ● Rubbing alcohol (70%+) or bleach solution: For sterilizing tools between cuts (1 part bleach to 9 parts water).
- ○ Pruning sealant (optional but helpful): A tree wound sealant (like Tanglefoot Tree Wound Pruning Seal) for cuts >½ inch on non-oak species.
- ● Gloves: 1 pair of cut-resistant gloves (e.g., leather or heavy-duty nitrile).
- ● Work boots: Sturdy, ankle-supporting boots for stability on uneven ground.
- ● Watering can or hose: With a gentle spray nozzle for post-pruning hydration.
- ● Mulch: 2–3 inches of organic mulch (wood chips, straw) to retain moisture and regulate soil temp.
- ● Soil test kit: To check pH and nutrient levels (ideal range: 6.0–7.0 for most trees).
- ● Ladder or step stool: For reaching higher branches safely.
- ● Tree climbing spikes (if needed): Only for experienced climbers—use with extreme caution!
- ● Reflective vest: For visibility if pruning near roads or trails.
- ● First-aid kit: In case of minor cuts or scrapes (trees can be sneaky!).
- ● Growth regulator (e.g., paclobutrazol): For controlling rapid growth in young trees (follow label instructions).
- ● Camera or sketchbook: To document progress and track pruning patterns.
Step-by-Step instructions for growing a tree from seedling
Here's how to nurture a single seedling into a thriving tree using smart pruning and seasonal care.
🌱 Step 1: Plant the Seedling in the Right Spot
Choose a location with 6+ hours of sunlight daily and soil that drains well—trees hate soggy roots. Dig a hole twice as wide as the root ball but only as deep as the container the seedling came in. This prevents burying the trunk too deep, which can cause rot.
Gently remove the seedling from its container and loosen any circling roots with your fingers. Place it in the hole so the top of the root ball sits 1 inch above ground level. Backfill with native soil, pressing lightly to remove air pockets but not compacting too tightly. Water deeply right after planting to settle the soil around the roots.
☀️ Step 2: Provide Consistent Water and Light
Water your young tree once a week during the first growing season, giving it 1-2 gallons of water per inch of trunk diameter. Check soil moisture by sticking your finger 2 inches deep—if it feels dry, water again. Overwatering is just as harmful as underwatering, so let the top inch dry out between waterings.
Keep the tree in full sun, but protect it from harsh afternoon sun in hot climates by providing partial shade during peak heat. You'll notice new growth in 4-6 weeks if conditions are right—look for fresh, vibrant leaves and upward growth.
✂️ Step 3: Prune for Structure in Early Growth
Start pruning when the tree is 2-3 feet tall to encourage a strong structure. Remove any branches growing toward the center of the tree or crossing others—these compete for sunlight and nutrients. Use clean, sharp pruning shears to make cuts just above a leaf node or outward-facing bud.
Trim back any overly long branches by one-third to promote bushier growth. Avoid cutting into old wood or large branches in the first year—focus on shaping the canopy. Prune in late winter or early spring before new growth begins for best results.
🌿 Step 4: Fertilize and Mulch for Year-Round Health
Apply a balanced, slow-release fertilizer in early spring and again in mid-summer. Use a granular formula with equal parts nitrogen, phosphorus, and potassium (like 10-10-10). Spread it evenly over the root zone, 6 inches from the trunk, and water it in thoroughly.
Add a 2-3 inch layer of mulch around the base of the tree, keeping it 6 inches away from the trunk to prevent rot. Use organic mulch like wood chips or shredded bark, which improves soil as it breaks down. Replenish mulch annually to maintain its protective layer.
⏰ Step 5: Monitor and Adjust Seasonally
In fall, reduce watering as temperatures drop, but keep the soil slightly moist. Prune any dead or diseased branches before winter sets in. Wrap the trunk of young trees in burlap or tree guard to protect it from frost and critters.
Check for pests like aphids or spider mites regularly—you'll spot them as tiny webs or sticky residue on leaves. Treat infestations early with neem oil or insecticidal soap. By year three, your tree should show strong, healthy growth with a well-defined shape.
Tips & tricks for perfect seedling growth
Growing a thriving tree from a seedling takes patience and precision—here's how to avoid common pitfalls and maximize success.
Location is Everything: In Step 1, don't just look for sunlight—observe your yard's microclimates. The south or west side of your home often gets the most consistent sun, but avoid spots where afternoon heat builds up. I learned this the hard way when my first seedling struggled in a hot, reflective driveway area. Also, check for underground utilities before digging—call your local service providers for a free inspection if needed.
Root Care Matters More Than You Think: When planting in Step 1, focus on those circling roots—these are the #1 cause of weak growth. Use your fingers to gently separate them before placing the seedling in the hole. I've seen seedlings with roots wrapped so tightly they strangled themselves! After planting, create a small water well around the base to ensure deep watering reaches the roots, not just the surface soil.
Watering Wisdom: The once-a-week guideline in Step 2 works for average conditions, but your tree's needs change with seasons. In summer, you might need to water twice weekly, while winter often requires none at all. I use a rain gauge to track precipitation—if we get 1 inch of rain, I skip watering. For young trees, water slowly until it seeps into the soil about 6 inches deep; surface puddles mean you're not watering effectively.
Pruning Pro Tips: When you start pruning in Step 3, look for the "U" shape where branches grow out from the trunk—that's your outward-facing bud. Cutting just above this creates stronger growth patterns. I always prune on a dry day when branches aren't brittle, and I sterilize my shears with rubbing alcohol between cuts to prevent disease spread. Remember, you can always prune more, but you can't un-prune!
Pro Tips for Seedling To Tree
- Growing a thriving tree from a seedling takes patience and precision—here's how to avoid common pitfalls and maximize...
- Location is Everything: In Step 1, don't just look for sunlight—observe your yard's microclimates. The south or west ...
- Root Care Matters More Than You Think: When planting in Step 1, focus on those circling roots—these are the #1 cause ...
Frequently asked questions
Got questions about nurturing seedlings into thriving trees? Here are answers to the most common ones—so you can grow confidently, season after season!
How long does it take for a seedling to become a mature tree?
A seedling typically takes 5–10 years to reach maturity, but this varies by species. Fast-growing trees like willows or poplars may mature in 5–7 years, while slower growers like oaks or maples can take decades. Pruning early helps shape structure and speed up growth!
Can I prune a seedling in winter, or should I wait for spring?
Winter pruning is safe for dormant trees (Dec–Feb in most climates), but avoid extreme cold snaps. Spring pruning (just before buds swell) is ideal for most species. Pro tip: If your area gets harsh winters, wait until late winter to minimize stress on young plants.
What’s the best way to protect a young tree from pests or diseases?
Start with healthy soil and proper spacing—crowded seedlings attract pests. Use organic neem oil for aphids or fungal sprays if needed. Prune out dead/diseased branches immediately to prevent spread. Mulch around the base (but not touching the trunk) to deter weeds and retain moisture.
If I miss a pruning season, can I still shape my tree later?
Yes! Don’t panic—trees are resilient. Focus on corrective pruning in the next dormant season (winter) to remove overgrowth or weak branches. Avoid heavy pruning in late summer/fall, as it can stress the tree. Prioritize structural integrity over aesthetics.
Are there low-maintenance trees better for beginners?
Try drought-tolerant species like crape myrtle, dogwood, or fruit trees (e.g., apple or pear). Pro tip: Native trees (e.g., redbud or serviceberry) adapt easily to local conditions. Research your USDA hardiness zone to pick the best fit—then prune lightly in early years to encourage strong growth.
My seedling’s leaves are yellowing—is it overwatered or underwatered?
Yellow leaves usually mean overwatering (check for soggy soil) or underwatering (dry, crispy edges). Test: Stick your finger 2 inches into the soil—if it’s damp, cut back on water; if dry, water deeply. Adjust mulch to retain moisture (2–4 inches thick) and ensure the pot/drainage area isn’t waterlogged.
Wrapping up and next steps
From a delicate seedling to a thriving tree, your journey with pruning science is just beginning—and what an exciting one it is! 🌱 The key takeaway? Consistent care, seasonal timing, and sharp tools are your best allies for year-round growth.
Whether you’re trimming branches, shaping canopies, or nurturing young shoots, every cut is a step toward stronger, healthier plants.
Now that you’re armed with knowledge, roll up your sleeves and get pruning! Start with just one plant this week—observe, learn, and refine your technique. Before you know it, your garden will be a lush, well-maintained forest of your own making. Happy growing! 🌳✨