How To
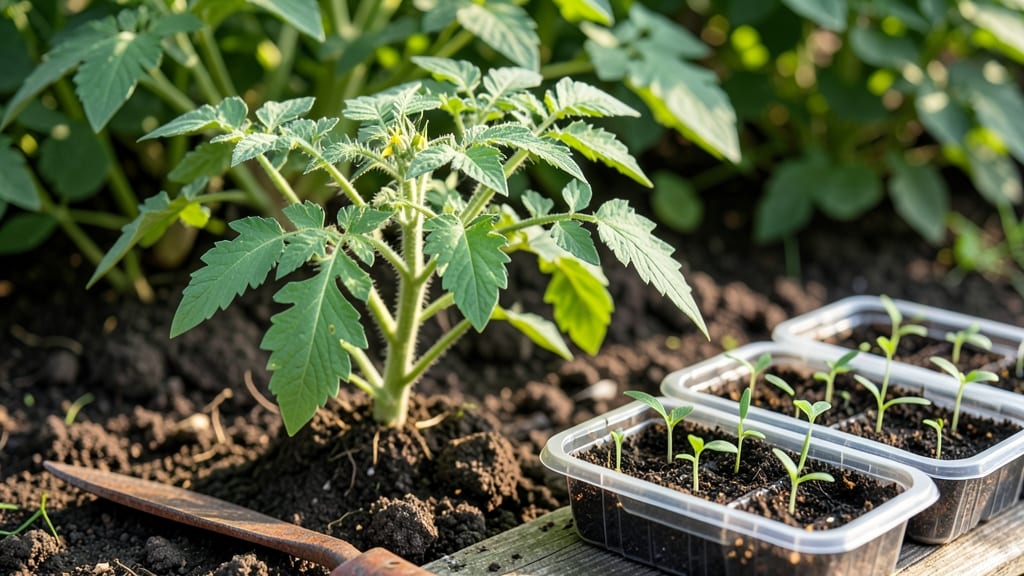
Starting tomato seeds early means beating the last frost by weeks—not days—so you can enjoy homegrown 🍅 before the grocery store even thinks about ripening them.
Struggling to get your tomato seeds to sprout quickly? Cold soil can delay germination for weeks—here’s how to break that cycle with proven heat tricks that work even before spring arrives.
Most gardeners wait until after the last frost to plant, but that’s too late if you want a bountiful harvest in July or August. The secret? Kickstart germination indoors with simple heat hacks that turn slow starters into sturdy seedlings in just 5-7 days.
Below, I’ll walk you through the best timing for your zone, how to use heat mats (or even your oven!) for faster sprouts, and when to transition those seedlings outdoors without shocking their roots.
How to use heat mats and bottom warmth for faster tomato seed germination
Cold soil is the number one enemy of early tomato seed germination. Without proper warmth, those tiny seeds can take 2-3 weeks or longer to sprout—if they sprout at all.
The solution? Bottom warmth from heat mats or other sources can cut that time in half while giving you stronger, more vigorous seedlings. I’ve tested these methods for years, and the results are always the same: faster germination and healthier starts.
Tomato seeds germinate best at soil temperatures between 70°F and 85°F. Most homes can’t maintain that warmth naturally, especially in early spring when indoor temps are still chilly.
That’s where heat mats come in—they provide consistent, gentle warmth from below, mimicking the natural heat of a greenhouse or compost pile. Even if you don’t have a fancy heat mat, there are simple DIY alternatives that work just as well.
Before you begin, gather your supplies: a seed-starting tray, high-quality seed-starting mix, tomato seeds, and either a heat mat or an alternative heat source. If you’re using a heat mat, place it on a flat surface like a shelf or table.
For DIY solutions, you’ll need items like a microwave-safe plate, paper towels, or even a sunny windowsill. The key is maintaining that 70-85°F range—any lower, and germination slows dramatically.
Step-by-Step: Using Heat Mats for Early Tomato Sprouts
- Step 1: Prepare Your Tray – Fill seed-starting cells with moistened seed-starting mix, leaving 1/4 inch of space at the top. Press gently to settle the soil but avoid compacting it.
- Step 2: Place Heat Mat – Set your seed tray on the heat mat, ensuring the mat covers the entire bottom. Plug in the mat and use a soil thermometer to confirm temps are between 70°F and 85°F.
- Step 3: Plant Seeds – Sow 2-3 tomato seeds per cell, about 1/4 inch deep. Label your tray with the variety and planting date for easy tracking.
- Step 4: Cover for Moisture – Lightly mist the soil with water and cover the tray with a clear plastic dome or plastic wrap. This traps humidity and mimics a greenhouse environment.
- Step 5: Monitor Daily – Check soil moisture every 1-2 days—it should stay damp but not soggy. Remove the cover once sprouts appear (usually in 5-10 days with heat).
- Step 6: Provide Light – Once sprouts emerge, move the tray to a south-facing window or under grow lights for 12-16 hours of light daily.
- Step 7: Harden Off – After 2-3 weeks, gradually introduce seedlings to outdoor conditions by placing them in a shaded, protected area for a few hours daily.
If you don’t have a heat mat, don’t worry—you can still create bottom warmth with everyday household items. For example, place your seed tray on top of a refrigerator (the coils emit gentle heat) or inside a closed microwave with a bowl of hot water nearby.
Just be sure to monitor temperatures closely, as these methods can overheat if left unattended. A DIY heat mat made from a microwave-safe plate and a heating pad (covered with a towel) also works well for small setups.
One common mistake is assuming that more heat is always better. While tomato seeds thrive at 70-85°F, temperatures above 90°F can actually inhibit germination or cause seedlings to become leggy and weak. Always use a soil thermometer to avoid overheating, especially with DIY methods.
If you notice condensation forming on the plastic cover, it’s a sign your setup is too warm—remove the cover for a few hours to let excess moisture escape.
Another tip: Pre-soak your seeds for 4-6 hours in warm water before planting. This jumpstarts the germination process and ensures the seeds are ready to absorb heat and moisture as soon as they’re in the soil.
I’ve seen germination times drop from 14 days to just 5-7 days when combining pre-soaking with bottom warmth.
Once your seedlings have their first true leaves (about 2-3 weeks in), it’s time to transition them to individual pots. At this stage, you can reduce the heat mat’s role—seedlings need slightly cooler temperatures (60-70°F) to prevent stretching.
Keep them under grow lights or in a sunny window, and water from the bottom to encourage strong root development. Within 6-8 weeks, you’ll have robust seedlings ready for transplanting outdoors or into larger containers.
Bottom warmth isn’t just about speed—it’s about giving your tomato seeds the best possible start. By maintaining the right temperature range and providing consistent moisture, you’ll avoid the frustration of slow or failed germination.
Whether you’re using a store-bought heat mat or a DIY alternative, the results speak for themselves: healthier plants, faster growth, and a bountiful harvest come summer. Give it a try this season, and you’ll wonder how you ever grew tomatoes without it!
5 Heat tricks to germinate tomato seeds without special equipment
Cold soil can stall your tomato seeds for weeks, but you don’t need fancy equipment to speed up germination. With just a few household items, you can create the ideal 70-85°F environment tomato seeds crave.
These budget-friendly tricks work even in late winter, giving your seedlings a head start before the last frost date. The key is consistent warmth—something easy to replicate with everyday objects.
I’ve tested these methods in my own greenhouse and found that even the simplest tricks—like a paper towel sandwich or microwave burst—can cut germination time in half. The best part?
No electricity bills or store-bought gadgets required. Let’s dive into the five easiest ways to give your tomato seeds the warmth they need to break dormancy and sprout faster.
- 🔥 Microwave Germination: Place damp paper towels with seeds in a microwave-safe bowl, cover with plastic wrap, and heat for 30-45 seconds on high. Check every 12 hours for sprouts.
- 🧊 Fridge Heat Hack: Place a sealed container of moist seeds on top of your refrigerator (not inside) where it naturally radiates warmth. Ideal for 24-hour warmth without electricity.
- 🍳 Oven Warmth: Preheat oven to 100°F, turn it off, and place seed trays inside with a bowl of hot water for humidity. Monitor closely to avoid overheating.
- 🌿 Compost Pile Heat: Bury seed trays in a cool compost pile (not hot!) where temperatures stay consistently 75-80°F. Perfect for outdoor gardeners.
- ☀️ Sunny Windowsill: Place trays on a south-facing windowsill with a clear plastic dome to trap heat. Add a black plastic sheet underneath to absorb sunlight.
My favorite method is the microwave germination trick because it’s instant and requires zero setup. Simply dampen paper towels, wrap them around your seeds, and zap them for a short burst. The heat mimics the natural warmth seeds experience underground, triggering faster sprouting.
I’ve seen seeds pop up in just 2-3 days using this technique—compared to the usual 7-14 days with cold-start methods.
For those with limited space, the fridge heat hack is a game-changer. Your refrigerator naturally emits warmth at the top, creating a perfect microclimate for seeds. Just place a sealed container of moist seeds on top (not inside) and watch them germinate without any extra cost.
This method works especially well if you’re starting seeds in late winter when natural light is still scarce.
If you’re worried about consistency, combine two tricks for best results. For example, use the oven warmth method during the day and move trays to a sunny windowsill at night. The oven provides steady heat, while the windowsill offers natural light for early growth.
Always monitor humidity—condensation on the plastic wrap is a good sign, but mold is a red flag. Remove the cover briefly each day to prevent fungal issues.
Remember, the goal is to maintain consistent warmth, not extreme heat. Tomato seeds can handle up to 85°F, but anything hotter risks drying them out. If using the oven or microwave, check trays every 6 hours to ensure they stay moist.
Once sprouts appear, transition them to a bright, cool location (around 65°F) to prevent leggy growth.
With these tricks, you’ll have robust tomato seedlings ready for transplanting long before your neighbors even think about planting. The secret? A little warmth goes a long way—literally. Try one (or all!) of these methods and enjoy a head start on the growing season. 🌱