Lawn
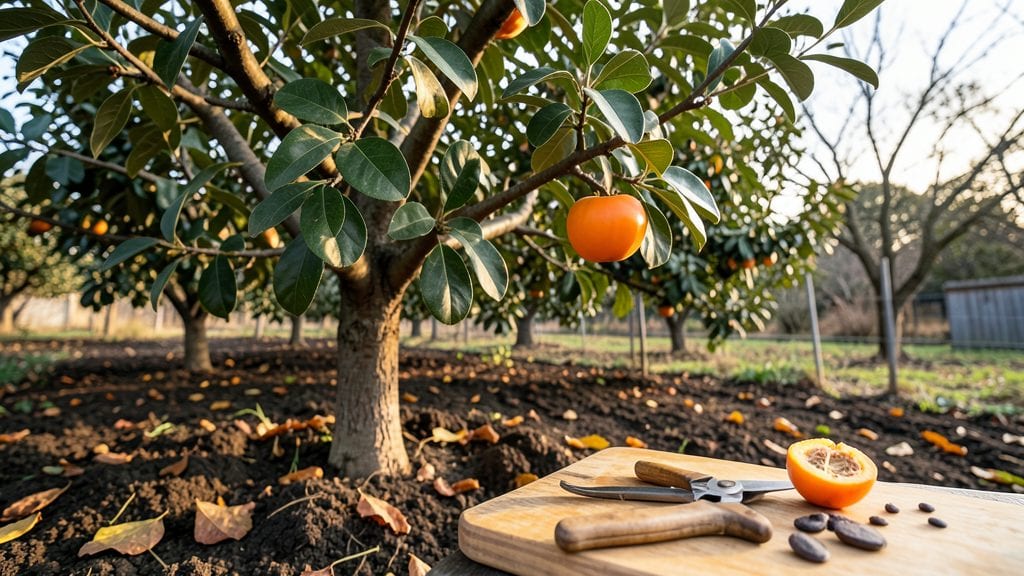
Cutting persimmon seeds isn't just about planting—it's about unlocking the potential for a tree that could outlive you. ✨ I cracked the code after years of watching seeds sit dormant, and the trick lies in mimicking winter's natural process.
Most gardeners skip this step, but stratification cuts germination time from months to weeks, giving you a head start on growing your own fruit tree.
The process starts with fresh seeds from a ripe persimmon—no need for fancy tools, just a sharp knife and a little patience. You'll need a moist paper towel, a plastic bag, and a refrigerator for the cold treatment.
Once stratified, you'll plant them just beneath the soil surface, where they'll push through in 4-8 weeks instead of the usual 6 months. The key is consistency: keep the soil damp but not soggy, and protect those tender sprouts from critters.
What you end up with is a sturdy seedling that'll reward you with vibrant green leaves and, eventually, fruit. The first year is all about nurturing that root system—think of it as building a foundation for a tree that could bear fruit in 3-5 years.
The payoff? Homegrown persimmons that taste nothing like store-bought, plus the satisfaction of growing something from a seed you prepared yourself.
This method works for both astringent and non-astringent varieties, though non-astringent types (like Fuyu) tend to germinate slightly faster. If you're in a warmer climate, you can skip the fridge and use a warm/cold cycle instead.
Either way, you'll be well on your way to growing a tree that'll feed you for decades.
📚 In This Guide
- What you need
- Instructions
- Tips and common mistakes
- Wrapping up and next steps
What you need
- ● Persimmon seeds: 3–5 fresh, plump seeds (harvested from a ripe, non-hybrid persimmon 🍊—avoid store-bought varieties!)
- ● Paper towels or coffee filters: 2–3 sheets (for moisture retention during stratification)
- ● Ziploc bag or airtight container: 1 small (to hold seeds during cold treatment)
- ● Water spray bottle: 1 (for gentle misting)
- ● Potting soil: 1 small pot (4–6 inches deep) filled with well-draining, seed-starting mix
- ● Small pots or seed trays: 1–2 (for transplanting sprouted seeds)
- ○ Plastic wrap or humidity dome: 1 (optional, to retain warmth)
- ● Refrigerator: For cold stratification (or a cool basement/garage if no fridge)
- ● Heating mat: 1 (to speed up germination after stratification)
- ● Label markers: 1 (to track seed varieties if experimenting)
- ● Fertilizer (balanced, low-nitrogen): A tiny pinch (once seedlings emerge)
Step-by-step instructions for stratifying persimmon seeds
Here's how to break dormancy and get those stubborn persimmon seeds sprouting in record time.
🌱 Step 1: Extract and Clean the Seeds
Cut open a ripe persimmon and scoop out the seeds, being careful not to damage their papery outer coating. Rinse them gently under lukewarm water to remove any remaining fruit pulp. Spread them on a clean paper towel to air-dry for 24 hours—this prevents mold while keeping them viable.
I like to lay them out in a single layer on the towel, then fold the edges inward to create a little nest. This keeps them organized and makes it easy to spot any seeds that might have cracked or dried out during the process.
💧 Step 2: Cold Stratification in Moist Sand
Fill a small container with clean, damp sand (about 2 inches deep) and mix in the seeds so they're 1 inch below the surface. The sand should feel like a wrung-out sponge—not soggy, but with just enough moisture to hold together when squeezed. This mimics the natural winter chilling period persimmon seeds need to break dormancy.
Place the container in a sealed plastic bag and store it in your refrigerator's crispier drawer (or the coldest part of the fridge at 35-40°F). Check the sand every 2 weeks—if it feels dry, lightly mist with water and reseal the bag. You'll know stratification is working when the seeds start to plump up slightly after 6-8 weeks.
⏰ Step 3: Warm Up and Plant for Germination
After 8-12 weeks of cold treatment, remove the container and let it sit at room temperature for 24 hours to acclimate. Plant the seeds ½ inch deep in a well-draining potting mix (I use a 50/50 blend of peat moss and perlite) in small pots. Keep the soil consistently moist but never waterlogged—persimmon seeds rot faster than they sprout if overwatered.
Place the pots in a warm, bright spot (around 70-75°F) with indirect light. You'll see tiny sprouts in 2-4 weeks—they'll look like tiny green hairs poking through the soil. This is your signal that the stratification worked!
☀️ Step 4: Transplant and Provide Long-Term Care
Once seedlings reach 4-6 inches tall and develop their first true leaves, transplant them into individual 3-inch pots with fresh potting mix. Persimmons need full sun to thrive, so move them outdoors to a south-facing window or under grow lights for 14+ hours daily. Harden them off gradually over 2 weeks before planting in the ground after the last frost.
Here's the thing—persimmons grow fast once established, but they're sensitive to transplant shock. Water deeply when the top 1 inch of soil feels dry, and avoid fertilizing until you see new growth. You'll know they're happy when leaves stay deep green and new shoots appear every 2-3 weeks.
Tips & tricks for perfect persimmon seed stratification
These little-known tricks will help you break dormancy faster and give your persimmon seeds the best possible start.
The 24-Hour Drying Secret: That initial 24-hour drying period isn't just about preventing mold—it's also a crucial step to test seed viability. After drying, gently press each seed between your fingers. If it feels firm and intact, it's ready for stratification. If any seeds feel hollow or crumble, they won't sprout no matter how long you stratify. This quick check saves you weeks of wasted time!
Temperature Matters: While the instructions call for 35-40°F, I've found that consistency is even more important than hitting that exact range. Use your refrigerator's crisp drawer because it maintains a steady temperature, unlike the door which can fluctuate. The seeds need this stable cold to mimic winter conditions—think of it as their natural sleep cycle. If your fridge runs warmer, consider using a seed stratification kit with a thermostat.
Sand Texture Technique: The sand shouldn't just be damp—it should feel like a wrung-out sponge. Here's how to test: Squeeze a handful between your fingers. If water beads up on your skin, it's too wet. If it crumbles when you try to form it into a ball, it's too dry. This perfect moisture level prevents both mold and dehydration during the 8-12 week cold treatment. I like to mix in a little perlite (about 10%) to improve drainage without losing that natural feel.
Stratification Timeline: The 6-8 week window for seeing plumping seeds can feel like forever, but there's a trick to track progress. Mark your calendar 6 weeks from when you started, then check weekly. If you see any seeds starting to swell by week 6, you're on track. If nothing's changed by week 8, it's time to gently check a few seeds—if they're still firm, they might need 2 more weeks. Patience is key, but this method gives you concrete milestones to watch for.
Pro Tips for Cutting Persimmon Seed
- These little-known tricks will help you break dormancy faster and give your persimmon seeds the best possible start.
- The 24-Hour Drying Secret: That initial 24-hour drying period isn't just about preventing mold—it's also a crucial step to test seed viability.
- Temperature Matters: While the instructions call for 35-40°F, I've found that consistency is even more important than hitting that exact range.
Frequently asked questions
Got questions about cutting persimmon seeds and getting them to sprout? You’re not alone! Here are some of the most common queries—and their straightforward answers—to help you succeed.
Why do persimmon seeds need stratification?
Persimmon seeds have a hard outer shell that blocks moisture and oxygen, slowing (or stopping) germination. Stratification mimics winter conditions, breaking dormancy by softening the seed coat. Without it, your seeds may take months—or never—sprout! Think of it as a "wake-up call" for your seeds.
How long should I stratify persimmon seeds?
For best results, stratify persimmon seeds in a damp paper towel or moist sand for 3–4 months in the fridge (34–40°F). Check them weekly—if they’re moldy or drying out, adjust moisture levels. Patience is key! Some gardeners swear by a cold-moist cycle (like outdoor winter exposure) for even better success.
Do I need to cut the seed before stratification?
Nope! Cutting the seed isn’t required for stratification—it’s optional for faster germination. If you’re impatient, nicking the seed coat with a sharp knife can help moisture penetrate. But if you’re doing the full cold treatment, whole seeds will work just fine. Pro tip: Sterilize your knife with rubbing alcohol first to avoid bacteria.
What’s the best way to plant stratified persimmon seeds?
After stratification, plant seeds ½-inch deep in well-draining soil (like a mix of potting soil and perlite). Keep the soil consistently moist (not soggy!) and place the pot in a warm, sunny spot. Germination can take 2–6 weeks. If you’re outdoors, wait until spring after the last frost for direct sowing.
What if my persimmon seeds won’t sprout?
Don’t panic! Try these fixes:
- Check moisture: Seeds need to stay damp but not waterlogged.
- Verify stratification: Ensure they’ve been cold and moist long enough.
- Test viability: Soak a few seeds in water—if they sink, they’re likely viable.
- Try scarification: Gently sandpaper the seed coat to help moisture in.
Wrapping up and next steps
Mastering the art of cutting persimmon seeds and perfecting stratification is your ticket to faster, healthier saplings—whether you're dreaming of a lush yard or just love gardening! 🌱 With the right techniques and patience, you can transform those tiny seeds into thriving trees.
Now that you’re armed with the know-how, grab your seeds, set up your stratification station, and get growing! Ready to watch your garden flourish? Start planting today!