Vegetables
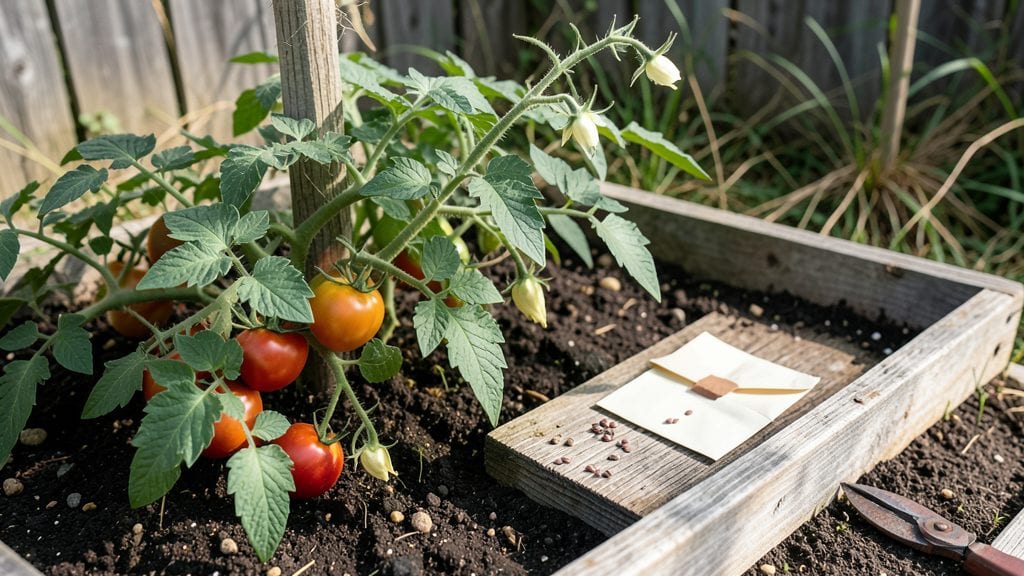
Drying tomato seeds from your homegrown harvest ensures next year’s garden starts with heirloom quality you can’t buy—✨ and after five seasons of saving, I’ve learned the secret is simply letting nature take its time. while you handle just a few critical steps.
The best tomatoes for seed saving are the ones that ripen fully on the vine, like beefsteaks or cherries, because their seeds have the highest germination rates.
You’ll need ripe tomatoes, a bowl of water, a fine-mesh strainer, and either paper towels or a drying tray. The process starts with scooping out the gel and seeds, then fermenting them for 2-3 days to separate viable seeds from the pulp.
This step might smell funky, but it’s essential—skipping it leads to moldy seeds later. After fermentation, rinse the seeds gently and spread them on a towel or tray to dry completely.
Once fully dry, you’ll have dark, hard seeds ready for storage in a cool, dark place. Properly dried seeds last for years, and the first sprouts in your next garden will feel like a reward for this simple process.
The best part? You’re not just saving seeds—you’re preserving the unique flavors and vigor of your favorite varieties.
This method works for any tomato type, from slicers to paste varieties, and even adapts to small spaces. Whether you’re a first-timer or a seasoned gardener, these seeds will give you a head start on next year’s harvest—no store-bought plants needed.
📚 In This Guide
- What you need
- Instructions
- Tips and common mistakes
- Wrapping up and next steps
What you need
- ● Mature tomatoes: Choose fully ripe, healthy tomatoes (at least 3–4 per variety). Avoid hybrid or heirloom seeds if you want to save true-to-type seeds.
- ● Small bowls or containers: 1–2 shallow dishes or small bowls (wide and low-sided for easy drying).
- ● Paper towels or coffee filters: 1–2 sheets per tomato to spread seeds on.
- ● Water: Enough to fill a bowl halfway (for fermenting seeds).
- ● Fine-mesh strainer or colander: 1 (for rinsing seeds).
- ● Small paper plates or seed envelopes: 1–2 (for final drying and storage).
- ● Pencil and labels: To mark seed varieties and dates.
- ● Plastic wrap or breathable cloth: To cover bowls during fermentation (prevents contamination).
- ● Magnifying glass: For inspecting seeds before storage.
- ● Desiccant packets: Tiny silica packets to keep seed envelopes dry long-term.
- ● Notebook or spreadsheet: To log seed varieties, germination rates, and harvest years.
Step-by-Step instructions for drying tomato seeds
Here's how to save your best tomato varieties—simple, foolproof, and ready for next season.
🍅 Step 1: Select and Extract Ripe Tomatoes
Pick fully ripe tomatoes that are slightly soft to the touch and deep in color. The riper the fruit, the higher the germination rate. Slice them open and scoop out the gel-like interior, which contains the seeds. Place this pulp in a bowl and add twice the volume of water—this is key for separating viable seeds from the fruit.
Stir gently and let the mixture sit for 1-2 days in a warm spot. You'll see a scum layer form on top—this is normal and can be skimmed off. Good seeds will sink to the bottom while empty or damaged ones float. Drain the water and discard the floating debris.
💧 Step 2: Rinse and Prepare Seeds for Drying
Transfer the settled seeds to a fine-mesh strainer and rinse them under cool water until the water runs clear. This removes any remaining pulp or fermentation residue. Gently shake the strainer to remove excess water—seeds should feel damp but not wet. Spread them in a single layer on a clean, dry paper towel.
Here's the thing—don't let them clump together. I like to use a second dry towel to gently press between them, ensuring even airflow. Leave them in a warm, dry spot for 3-5 days, flipping the towel daily. You'll know they're ready when they're completely dry and crumbly to the touch.
⏰ Step 3: Test and Store Seeds Properly
Before storing, test a few seeds by placing them between two damp paper towels in a sealed plastic bag. Keep them in a warm spot and check daily. Viable seeds should sprout in 5-10 days. If germination is poor, your drying process may need adjustment—try a warmer, drier spot next time.
Once dry and viable, store seeds in a cool, dark place like an airtight container or envelope. Label with the tomato variety and date—seeds remain viable for 4-6 years when stored properly. I keep mine in a small glass jar in the fridge for maximum freshness.
🌱 Step 4: Optional Fermentation for Better Germination
For even higher germination rates, try fermenting the seeds for 2-3 days before rinsing. The natural fermentation process breaks down the seed coat, encouraging faster and more uniform sprouting. Just be sure to rinse thoroughly afterward to remove any fermentation byproducts.
This step is optional but worth it if you're saving heirloom varieties. The extra effort pays off with stronger, healthier seedlings. Just remember—fermentation works best in warm conditions, ideally around 70-75°F.
Tips & tricks for perfect tomato seed drying
A few key strategies will help you maximize germination rates and avoid common pitfalls when preserving your tomato seeds.
Selection Matters: Choose tomatoes that are fully ripe but not overripe—think slightly soft with deep, vibrant color. Overripe tomatoes can introduce mold spores to your seed mixture, while underripe ones yield lower germination rates. I always pick tomatoes that are just starting to soften but still hold their shape.
Fermentation Timing: The 2-3 day fermentation period in Step 4 is crucial for breaking down the gel-like coating around seeds. If your kitchen is cooler (below 70°F), extend fermentation to 3-4 days to ensure proper breakdown. The ideal temperature is around 75°F, which speeds up the natural fermentation process and helps remove any remaining fruit pulp.
Drying Technique: For even drying in Step 2, spread seeds on a single layer of paper towel and use a second dry towel to gently press between them. This prevents clumping and ensures consistent airflow. I like to place the towel on a mesh screen or cooling rack to allow air circulation from both sides. Check daily and flip the towel—seeds are ready when they're completely dry and crumbly to the touch.
Storage Wisdom: Once dry, store seeds in a cool, dark place like the refrigerator or a cool pantry. I use small glass jars with tight-sealing lids to maintain freshness. Label each jar with the tomato variety and date—this helps track seed age and viability. Seeds stored properly can remain viable for up to 6 years, but germination rates may decline after 4 years.
Pro Tips for Drying Tomato Seeds
- A few key strategies will help you maximize germination rates and avoid common pitfalls when preserving your tomato seeds.
- Selection Matters: Choose tomatoes that are fully ripe but not overripe—think slightly soft with deep, vibrant color.
- Fermentation Timing: The 2-3 day fermentation period in Step 4 is crucial for breaking down the gel-like coating around seeds.
Frequently asked questions
Got questions about drying tomato seeds? You’re not alone! Here are answers to the most common queries to help you master the process with confidence.
How long does it take to dry tomato seeds completely?
Drying tomato seeds properly takes 5–7 days in a warm, dry environment (around 70–80°F). Use a seed-starting mat, paper towel, or mesh screen to speed up the process. Test for readiness—seeds should crunch when pressed and be hard and dark (not sticky or soft). Patience is key to avoiding mold!
Can I dry tomato seeds in the sun instead of indoors?
Yes, but with caution! Spread seeds on black paper or a mesh screen in direct sunlight for 2–3 days, stirring occasionally. Avoid plastic or glass, as condensation can cause mold. If humidity is high, finish drying indoors to prevent spoilage. Pro tip: Use a fan to keep airflow steady.
What if my seeds won’t dry—mold keeps growing?
Mold is a red flag! Stop drying immediately and discard contaminated seeds. To prevent it, ensure your drying area is well-ventilated and humidity-free (aim for <40% humidity). If mold appears, clean surfaces with vinegar or hydrogen peroxide before retrying. Start with fresh seeds or adjust your drying method.
How should I store dried tomato seeds long-term?
Store seeds in a cool, dark, and dry place (like a sealed jar or envelope with a silica gel packet) to maintain viability. Label with the variety and date—most tomato seeds stay viable for 4–6 years if stored properly. Avoid refrigeration unless humidity is a concern in your climate.
Can I use seeds from hybrid tomatoes?
Hybrid tomato seeds (F1 hybrids) may not grow true to the parent plant. For consistent results, save seeds from heirloom or open-pollinated varieties. If you must use hybrids, plant extra seeds—some may produce unexpected traits like size, color, or flavor. Always check seed packets for "heirloom" labels!
Wrapping up and next steps
Drying tomato seeds is a simple yet rewarding way to preserve your garden’s legacy for seasons to come! 🌱 With just a few tools and a little patience, you can turn this year’s harvest into next year’s thriving plants.
Whether you’re a seasoned gardener or just starting out, every dried seed is a promise of future bounty—so grab those ripe tomatoes and get started!
Now that you’re armed with the know-how, why not share your new skills? Try saving seeds from a few varieties, experiment with different drying methods, or even swap seeds with fellow gardeners. Your garden’s future starts with a single seed—let’s grow it together! 🌿