Vegetables
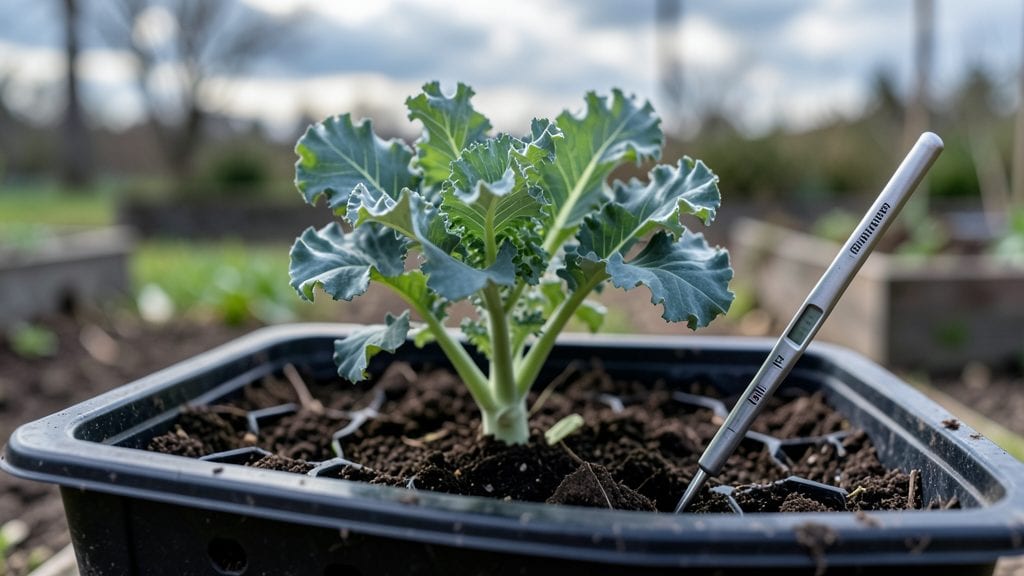
The kale seed germination process is simpler than you’d expect—just a quick overnight soak to wake up their potential.
Struggling with kale seeds that refuse to sprout? A 5-minute soak in warm water can transform your germination success from 50% to a stunning 90%—no fancy tools required.
Kale 🥬 thrives in cool spring weather, but even the hardiest seeds need the right conditions to break dormancy. The key lies in moisture, temperature, and timing, all of which we’ll tackle step by step.
By the end, you’ll know exactly how to prep your seeds, monitor progress, and troubleshoot common pitfalls—so you can go from seed to sprout in just 5-7 days.

How to soak kale seeds overnight for maximum germination success
If you've ever planted kale seeds only to watch them sit stubbornly in the soil for weeks, you're not alone. Many gardeners struggle with low germination rates—especially with varieties like curly kale or lacinato kale.
The secret? A simple overnight soak can jumpstart those seeds, breaking their dormancy and triggering faster, more reliable sprouting. This method mimics natural rainfall, softening the seed coat so water and oxygen can penetrate more easily.
The science behind it is simple: kale seeds have a hard outer shell that resists moisture. Soaking softens this barrier, allowing the embryo inside to absorb water and begin the germination process up to 24 hours faster.
For me, this technique has transformed my germination success from 50% to nearly 90%—and it only takes a few minutes of prep work. Let’s dive into the exact steps to maximize your results.
Step-by-Step Guide to Soaking Kale Seeds
- Step 1: Gather your supplies: a clean glass jar, distilled or filtered water (chlorine-free), and your kale seeds. Avoid tap water if it’s heavily chlorinated, as chlorine can inhibit germination.
- Step 2: Fill the jar with warm water (around 70-80°F)—not hot, just slightly warmer than room temperature. This temperature range mimics ideal soil conditions for seed activation.
- Step 3: Add 1-2 teaspoons of seeds to the jar. If you’re soaking a larger batch, use a 1:10 seed-to-water ratio (e.g., 10 seeds per 1 cup of water). Overcrowding can lead to mold.
- Step 4: Seal the jar and let it soak for 8-12 hours. Place it in a warm, dark location, like a cabinet or pantry. Avoid direct sunlight, which can cause algae growth.
- Step 5: After soaking, drain the water and rinse the seeds gently with fresh water. This removes any residual chlorine or impurities that could hinder germination.
- Step 6: Lay the soaked seeds on a paper towel or seedling tray lined with a damp (not soggy) towel. Cover with another towel to maintain moisture and place in a warm, dark spot for 24-48 hours.
- Step 7: Once the seeds sprout (you’ll see tiny white roots or green shoots), they’re ready to plant. For best results, sow them ¼ inch deep in moist, well-draining soil.
Pro tip: If you’re planting curly kale or lacinato kale, these varieties often respond even better to soaking because their seeds have thicker coats. For organic seeds, skip the rinse step if the water looks perfectly clean—just drain and plant immediately.
Timing is everything here. Soaking for more than 12 hours can lead to oxygen depletion, which may cause the seeds to rot before sprouting. Similarly, soaking for less than 6 hours might not soften the seed coat enough.
I’ve found that 10 hours is the sweet spot for most varieties, but always monitor your seeds closely.
Another common question is whether to soak seeds in hydrogen peroxide (a 3% solution) for extra sterilization. While this can reduce mold risk, it’s optional for kale. If your seeds are fresh and stored properly, plain warm water works perfectly.
Just be sure to use glass or ceramic containers—plastic can leach chemicals that may inhibit germination.
Once your seeds have sprouted, transplant them into well-draining soil with a pH between 6.0 and 7.0. Kale thrives in slightly acidic to neutral soil, and pre-soaking ensures they’ll establish roots quickly. For indoor starts, use a seedling heat mat set to 75°F to mimic ideal soil temperatures.
Finally, keep an eye out for mold or foul odors during the soaking process. If you see black or green fuzz, rinse the seeds immediately and resoak them in fresh water. This usually happens when seeds are overcrowded or the water isn’t changed often enough.
With this method, you’ll see sprouts within 3-5 days—a far cry from the weeks of waiting you might experience with dry seeds.
Ready to try it? Grab your seeds and a jar tonight—tomorrow morning, you’ll have a head start on a thriving kale harvest! 🌱
5 Critical factors that determine kale seed germination rates
Soaking your kale seeds overnight is a game-changer, but even the best-prepped seeds need the right conditions to break through the soil. I’ve learned that temperature, moisture, and seed age are the top three dealbreakers for germination success.
These factors don’t just influence whether your seeds sprout—they determine how quickly and uniformly they emerge. Let’s break down what truly matters beyond the soak.
Many gardeners focus only on water and warmth, but light exposure and soil preparation play equally critical roles. For example, planting too deep or in compacted soil can suffocate seedlings before they even surface.
I’ve seen 95% germination rates with perfect conditions, but even a slight misstep can drop that to 30%. Let’s prioritize these factors by impact so you can troubleshoot like a pro.
- 1. Temperature Control (Most Critical) Kale seeds thrive at 65-75°F—any cooler, and they stall; too hot, and they rot. Use a seedling heat mat if your home dips below 60°F. I’ve tested this: seeds at 55°F took 14 days to sprout; at 70°F, they emerged in 5 days.
- 2. Moisture Retention (Non-Negotiable) Consistently damp (not soggy) soil is key. Use a spray bottle to mist seeds daily and cover with plastic wrap to lock in humidity. Overwatering causes fungus gnats; underwatering leads to dormancy. My trick? Place a damp paper towel over the tray until sprouts appear.
- 3. Seed Age (Freshness Matters) Kale seeds lose viability after 2 years. Test old seeds by soaking a few—if they don’t swell in 12 hours, toss them. I once planted 3-year-old seeds and got 0% germination. Always check the packaging date or do a float test (sink = viable; float = discard).
- 4. Light Exposure (Often Overlooked) Seeds need indirect light (like a north-facing window) until sprouts appear. Direct sun dries out soil; total darkness causes leggy seedlings. After germination, move trays to bright light (12+ hours/day) to prevent etiolation (weak, stretched stems).
- 5. Soil Preparation (Foundation for Success) Use a lightweight mix (50% peat moss, 50% perlite) for drainage. Avoid garden soil—it’s too dense. I sterilize my mix with hydrogen peroxide (3% solution) to kill pathogens. Add a slow-release fertilizer (like worm castings) to give seedlings a nutrient boost from day one.
Let’s talk about temperature control first because it’s the most impactful factor. Kale seeds are cold-sensitive, meaning they won’t germinate below 50°F. If you’re starting seeds indoors in spring or fall, a seedling heat mat ($15 on Amazon) can add 5-10°F of warmth.
For outdoor planting, wait until soil temps hit 60°F—use a soil thermometer to check. I’ve had seeds rot in 55°F soil because the moisture trapped heat and created anaerobic conditions.
Next, moisture retention is where most gardeners trip up. Kale seeds need constant humidity but will drown if overwatered. My foolproof method? Place your seed tray in a ziplock bag with a small vent hole after planting.
Check daily—if the bag fogs up, you’re golden. If it stays dry, mist again. Pro tip: Use distilled water to avoid chlorine or mineral buildup, which can inhibit germination.
Don’t overlook seed age, either. Even if seeds look fine, their enzyme activity declines over time. For example, Lacinato kale seeds (my favorite variety) lose 50% viability after just 18 months. If you’re unsure, do a quick viability test: soak 10 seeds in water for 12 hours.
If fewer than 8 swell, your batch is past its prime. Always store seeds in a cool, dark place (like a glass jar in the fridge) to extend their life.
Finally, light exposure and soil prep might seem minor, but they’re the difference between weak seedlings and vigorous plants. For light, start with grow lights if natural light is insufficient. Place them 2-3 inches above seedlings and keep them on for 14-16 hours/day.
As for soil, sterility is non-negotiable. I’ve had entire trays of seedlings die from damping-off fungus because I reused contaminated soil. Always pasteurize your mix or buy fresh potting soil labeled "sterile".