Picking
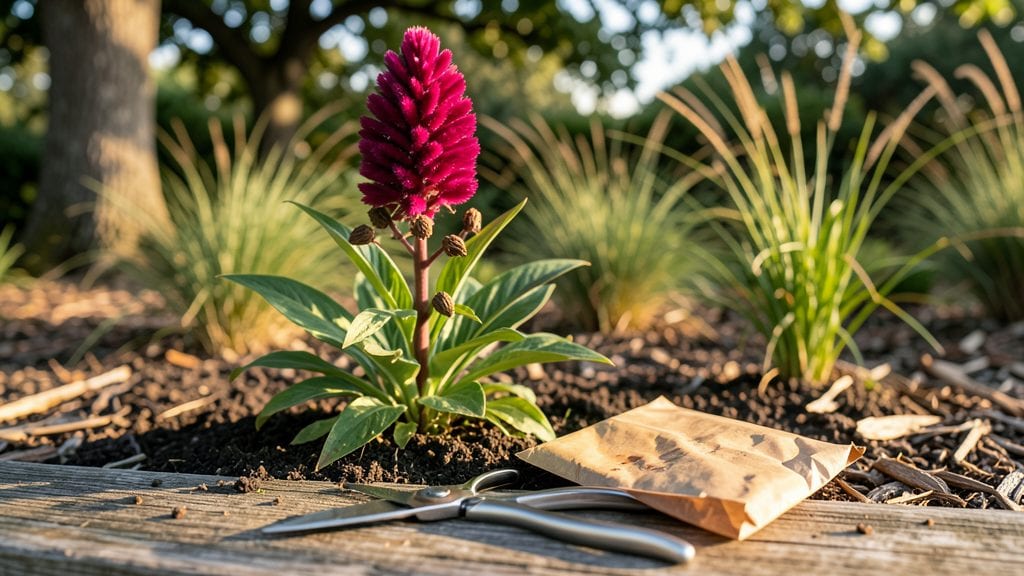
Saving celosia seeds for next year’s garden starts with knowing exactly when those papery seed heads are ready. ✨ I’ve learned the hard way that waiting too long means seeds scatter, while harvesting too early means they won’t germinate—so timing is everything.
The key is watching for those brown, crispy seed pods that split open naturally, revealing tiny black seeds inside.
You’ll need just a few simple tools: sharp scissors or pruners, a clean paper bag or envelope, and a dry, dark spot for curing. Most gardeners overlook the drying phase, but proper moisture control keeps seeds viable for years.
I’ve seen celosia seeds stay fresh for five years when stored correctly—though they’re best used within two years for peak germination.
Once dried, you’ll have a collection of seeds that’s ready to replant for bold, fiery blooms next season. The process is straightforward, but the payoff—vibrant celosia in every color from flame orange to deep plum—makes it worth every minute.
Let’s walk through the exact steps to preserve your seeds without losing any to moisture or pests.
This method works for both the classic plume celosia and the fluffy “cockscomb” variety, though drying times may vary slightly. Whether you’re saving seeds from your garden or buying them, proper storage ensures you’ll have fresh stock for years to come. Here’s how to do it right.
📚 In This Guide
- What you need
- Instructions
- Tips and common mistakes
- Wrapping up and next steps
What you need
- ● Mature celosia plants (with fully dried seed heads—look for crispy, brownish blooms!)
- ● Sharp pruning shears or scissors (sterilized to prevent disease transfer)
- ● Brown paper bags or breathable seed envelopes (1–2 per plant, depending on seed head size)
- ● Labeling tags or masking tape + marker (to note variety and harvest date)
- ● Drying tray or screen (to elevate seed heads for airflow)
- ● Small sieve or fine mesh screen (for separating seeds from chaff)
- ● Air-tight storage containers (glass jars, plastic bags with zip locks, or seed packets)
- ○ Desiccant packets (optional but helpful) (to absorb moisture in storage)
- ● Handheld fan or dehumidifier (to speed up drying in humid climates)
- ● Fine-tip tweezers (for delicate seed extraction)
- ● Digital scale (to weigh seeds for planting records)
- ● UV-protective storage bags (to shield seeds from light degradation)
- ● Notebook or spreadsheet (to track seed viability and germination rates)
Instructions for harvesting celosia seeds
Here's how to collect seeds from your celosia plants for next season's bold, colorful blooms.
🌿 Step 1: Identify and Select Mature Seed Heads
Wait until the celosia flowers have completely dried on the plant—this usually happens in late fall or early winter, depending on your climate. The seed heads will turn a crispy brown color and feel brittle when touched. I look for the ones that have naturally opened up, revealing tiny black seeds inside.
Gently twist the dried seed heads off the stems and place them in a paper bag. Avoid using plastic bags, as they trap moisture and can cause mold. You'll need about 4-6 mature seed heads to collect enough seeds for replanting.
💧 Step 2: Dry the Seed Heads Further
Spread the collected seed heads out on a clean, dry surface in a warm, dry location. I like to use a sunny windowsill or a well-ventilated table. Let them dry for 7-10 days, stirring them occasionally to ensure even drying. This step is crucial—if the seed heads stay too damp, the seeds may spoil.
You'll know they're fully dry when they crumble easily between your fingers. Once dry, place the seed heads in a clean, dry container and gently rub or shake them to release the seeds. The tiny black seeds will fall out while the dried flower parts stay behind.
⏰ Step 3: Clean and Store the Seeds
Use a fine-mesh strainer or sifter to separate the seeds from any remaining plant debris. I like to place the seeds in a small bowl and gently blow on them to remove any dust or chaff. Store the clean seeds in a paper envelope or small glass jar with a tight-fitting lid.
Label the container with the celosia variety and the date of harvest. Store the seeds in a cool, dry place, like a pantry or seed drawer. Celosia seeds can stay viable for 2-3 years if stored properly, so you'll have plenty for future plantings.
☀️ Step 4: Test Germination (Optional)
If you want to ensure your seeds are still viable, conduct a simple germination test. Moisten a paper towel and place 10-15 seeds on it, then fold the towel and place it in a sealed plastic bag. Keep the bag in a warm spot, like on top of the fridge, and check for sprouts in 7-14 days. If at least half the seeds sprout, they're ready for planting next season.
This step is especially helpful if you've stored seeds for more than a year. Even if some seeds don't sprout, you'll still have plenty left for future attempts. Once you confirm viability, you're all set to grow vibrant celosia blooms again next year!
Tips & tricks for harvesting celosia seeds
A few simple tricks will ensure you collect the most viable seeds for next year's stunning celosia blooms.
The Harvest Factor: Don't rush harvesting! Wait until the seed heads are completely dry and brittle—this usually happens when they've turned a crispy brown and naturally open up. If you harvest too early, the seeds won't be fully matured and may not germinate properly. I've learned this the hard way after planting seeds that didn't sprout because they weren't fully dry.
Drying Wisdom: Those 7-10 days of additional drying in Step 2 are crucial. I like to spread the seed heads on a baking sheet lined with parchment paper for better airflow. Stir them daily to prevent any moisture buildup, especially if your climate is humid. A food dehydrator set to its lowest setting works too if you're short on time.
Storage Strategy: Paper envelopes are my go-to for seed storage because they allow for better airflow than plastic containers. If you prefer glass jars, make sure to include a small silica gel packet to absorb any moisture. Labeling with both the variety and harvest date is a lifesaver—trust me, you'll forget after a year!
Germination Test: The optional 7-14 day germination test is worth the effort, especially if you've stored seeds for more than a year. I've had batches where only 30% sprouted, but that still left me with plenty of seeds for future attempts. This test gives you confidence that your seeds are ready for planting.
Pro Tips for Harvest Celosia Seeds
- A few simple tricks will ensure you collect the most viable seeds for next year's stunning celosia blooms.
- The Harvest Factor: Don't rush harvesting!
- Drying Wisdom: Those 7-10 days of additional drying in Step 2 are crucial.
Frequently asked questions
Got questions about harvesting celosia seeds?
You’re not alone! Here are some of the most common queries—plus straightforward answers to help you master the process.
When is the best time to harvest celosia seeds?
Harvest celosia seeds when the flower heads turn brown and dry but before they shatter or release seeds naturally. This usually happens 4–6 weeks after flowering, depending on your climate. If left too long, seeds may scatter, reducing your yield.
How long does it take for celosia seeds to dry?
Seeds need 1–2 weeks to fully dry indoors, depending on humidity. Place them in a well-ventilated, dry spot (like a paper bag with holes) and check weekly. If they’re crispy and crumble easily, they’re ready for storage!
Can I harvest seeds from store-bought celosia plants?
Yes, but only if the plant is labeled as an heirloom or open-pollinated variety. Many commercial celosia are hybrids and won’t produce true-to-type seeds. If unsure, ask the nursery or opt for seeds from a trusted supplier.
What should I do if my celosia seeds get moldy or damp?
If seeds feel damp or develop mold, discard them immediately—mold can ruin your entire batch. To prevent this, avoid high-humidity areas and use silica gel packets in storage containers. Always work with fully dried seeds!
How do I know if my celosia seeds are still viable?
Test viability by placing a few seeds in a damp paper towel, sealing them in a bag, and keeping them warm (like on a sunny windowsill). If 50%+ sprout within 7–10 days, your seeds are good to plant. If not, it’s time to source fresh ones!
Wrapping up and next steps
Harvesting and storing celosia seeds is a rewarding way to ensure next year’s garden bursts with color!
With the right tools and patience, you can transform last season’s blooms into fresh, vibrant plants. Now that you’re equipped with the know-how, why not give it a try? Start by selecting healthy celosia plants, dry the seeds thoroughly, and store them in a cool, dry place—your future garden will thank you!
Ready to grow? Grab your seeds and get planting—your colorful garden awaits! 🌸