How To
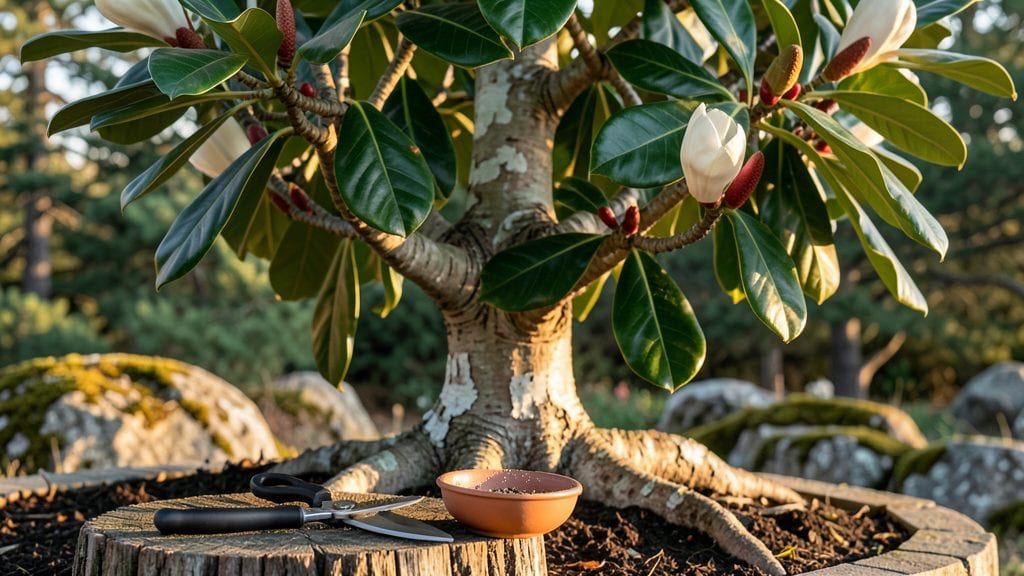
Harvesting magnolia seeds at the right moment ensures strong germination and healthy saplings—so timing and technique matter more than you might think.
Magnolia trees produce stunning flowers and unique seed pods, but knowing when and how to harvest those seeds can mean the difference between successful germination and wasted effort.
In USDA Zone 6a, the best window is late summer to early fall, when the pods turn brown and split open naturally. Miss this cue, and you risk collecting seeds that won’t sprout—or worse, ones that mold before they germinate.
Below, I’ll walk you through the exact steps to identify ripe pods, safely extract the seeds, and store them for planting—plus the one mistake that kills viability before it even starts.

When to harvest magnolia seeds: identifying ripe seed pods for best germination rates
Harvesting magnolia seeds at the right moment is critical for maximizing germination rates. The seed pods of magnolia trees undergo dramatic changes as they mature—from vibrant green to dry brown.
If you harvest too early, the seeds won’t be viable, but waiting too long can lead to mold or insect damage. Let’s explore the visual and tactile cues that signal the perfect time to collect these precious seeds.
Most magnolia varieties, including Southern magnolias (Magnolia grandiflora) and Star magnolias (Magnolia stellata), produce seed pods in late summer to early fall, typically between August and October.
However, the exact timing depends on your USDA hardiness zone and local climate. In warmer zones (7-10), pods may ripen earlier, while cooler zones (4-6) might see a delayed harvest.
Here’s how to identify ripe seed pods using simple checks:
| Check | Ripe Pods | Unripe Pods |
|---|---|---|
| Color | Fully brown and dry | Green or partially green |
| Texture | Dry, papery, and brittle | Firm, leathery, or moist |
| Sound | Seeds rattle inside when shaken | No sound or dull thud |
| Opening | Pods split open naturally | Pods remain tightly closed |
| Seed Appearance | Dark brown, firm, and plump | Light-colored, soft, or shriveled |
For Southern magnolias, ripe pods typically appear in September to October, while Star magnolias and Saucer magnolias (Magnolia soulangeana) may produce seeds slightly earlier, around late August to September.
Pay close attention to your local weather patterns—cooler temperatures can delay ripening, while a warm fall might speed it up.
One of my biggest mistakes early on was harvesting pods that were partially green. These seeds often fail to germinate because they’re still developing. Always wait until the pods are completely dry and brown before collecting.
If you’re unsure, give them another week—the extra patience can save you from wasted effort.
Another key tip: Avoid harvesting seeds that have already fallen to the ground. Ground contact increases the risk of fungal infection or insect damage. Instead, collect pods directly from the tree when they’re ripe but still attached.
Use a small pruning saw or clean scissors to snip the pods, leaving the stem intact to avoid damaging the tree.
If you live in a cooler USDA zone (4-6), you might need to adjust your harvest timeline. In these regions, seed pods often ripen later, sometimes as late as November.
Keep an eye on the pods and don’t rush—they’ll let you know when they’re ready with their distinctive brown color and dry texture.
Once you’ve identified ripe pods, act quickly but carefully. Remove the seeds from the pods by gently prying them open with your fingers or a small knife. Handle them with care—crushing the seeds can reduce their viability.
Store them in a cool, dry place until you’re ready to sow them, ideally within a few weeks for best results.
Pro tip: If you’re planning to stratify the seeds (a cold treatment to break dormancy), harvest them slightly earlier—when the pods are brown but not yet fully dry. This gives you more flexibility for timing your stratification process correctly.
Finally, remember that magnolia seeds have a short shelf life. Even when stored properly, their viability drops after a few months. So, if you’re not ready to plant right away, prioritize harvesting and stratifying them as soon as they’re ripe.
With the right timing and care, you’ll be well on your way to growing your own magnolia saplings!
Step-by-step process for collecting and storing magnolia seeds
Harvesting magnolia seeds requires patience and precision—one wrong move can damage the embryo inside or introduce mold. Start by gathering your tools, including sterilized pruning shears, a paper bag for collection, and gloves to protect your hands from the tree’s sticky sap.
The key is to work gently but efficiently, as magnolia seeds have a short viability window once removed from their pods.
Once you’ve identified ripe seed pods (fully brown and dry), the next step is careful extraction. Avoid crushing the seeds or exposing them to excess moisture, which can trigger rot. Here’s how to do it right, step by step:
Collect sterilized pruning shears, a paper bag, gloves, and a soft brush to avoid damaging seeds.
Gently twist or cut open pods from the tree and place them in your paper bag. Avoid dropping seeds on hard surfaces.
Open pods over a clean surface and use your fingers to separate seeds from pulp. Discard any seeds that appear soft or discolored.
Use a soft brush to remove any remaining pulp or debris. Let seeds air-dry for 24 hours in a shady, well-ventilated area.
Mix seeds with moist sand or peat moss in a sealed container. Store in the refrigerator for 60-90 days to break dormancy.
Place dried, stratified seeds in an airtight container with a desiccant packet. Keep in a cool, dark place (40-50°F) for up to 2 years.
After extraction, cleaning magnolia seeds is critical to prevent mold. Rinse them gently under lukewarm water if they’re sticky, then pat dry with a paper towel. Never use a cloth, as it can trap moisture.
Once dry, inspect each seed for cracks or discoloration, as these indicate poor viability. For long-term storage, place seeds in a paper envelope inside a sealed plastic bag with a silica gel packet to absorb excess moisture.
Stratification is the most critical step for breaking dormancy. Magnolia seeds require a cold period to mimic winter conditions. Mix them with moist sand in a container, seal it, and refrigerate for 60-90 days.
Check monthly to ensure the mix stays evenly moist—not soggy. Once stratified, seeds are ready for spring sowing, where germination rates improve dramatically compared to unstratified seeds.
If you’re not ready to plant immediately, store seeds in a cool, dry place with stable humidity. Avoid basements prone to temperature fluctuations or condensation, as these can reduce viability.
Label your storage container with the harvest date and species to track freshness. With proper care, magnolia seeds can remain viable for 1-2 years, though germination rates decline over time.
Remember, patience is key—magnolia seeds are slow to germinate, often taking 30-60 days even under ideal conditions. Keep soil consistently moist but never waterlogged during this period. With these steps, you’ll maximize your chances of growing healthy magnolia saplings from your own seeds! 🌱