Planting
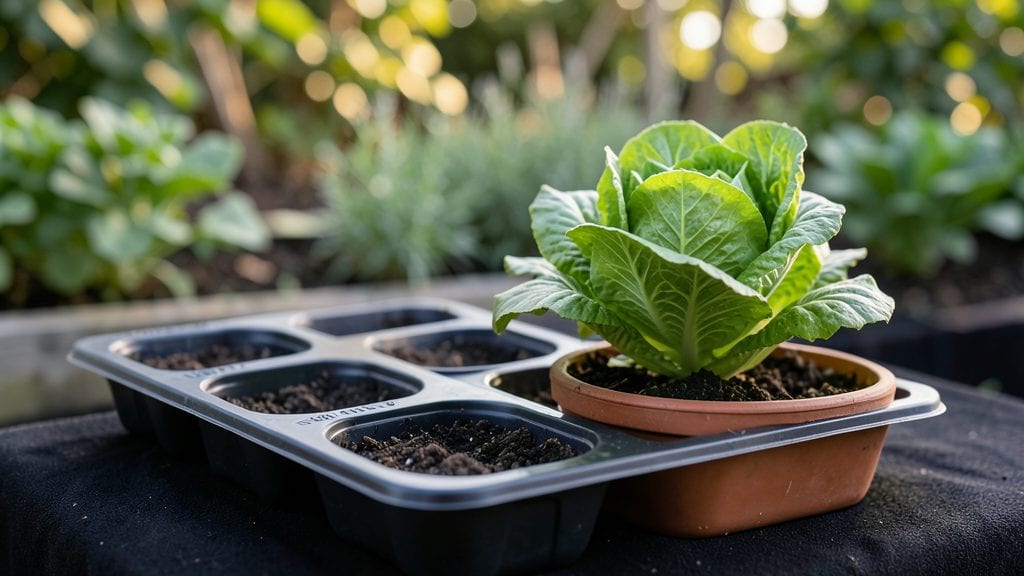
Precision planting starts with knowing your seed spacing chart—because cramming seeds too close means stunted growth, while spacing too wide wastes garden real estate. 🌱 I learned this the hard way when my overcrowded basil plants spent all summer fighting for sunlight instead of producing leaves.
The right spacing ensures every plant gets air, water, and nutrients without competition, leading to stronger stems, bigger yields, and fewer diseases.
This isn’t about memorizing numbers—it’s about matching plant habits to your garden’s conditions. Leafy greens like lettuce thrive with 1-2 inches between seeds, while sprawling cucumbers need 3-4 feet of space to sprawl properly.
Herbs like dill and cilantro can handle closer spacing (6-12 inches), but root crops like carrots need 2-3 inches to avoid forking. The key is balancing the plant’s mature size with your garden’s layout.
When you nail the spacing, you’ll see the difference in just a few weeks: vibrant green foliage, fewer weeds sneaking in, and harvests that keep coming instead of petering out. Even in containers, proper spacing prevents root-bound plants and extends the growing season.
Think of it as giving each plant its own personal space to stretch out and thrive—no more crowded, leggy seedlings or wasted garden beds.
Here’s the game-changer: adjust for your soil and climate. Sandy soil drains fast, so plants need slightly more space to establish roots, while rich compost lets you plant a bit tighter. In hot, dry areas, wider spacing improves airflow and reduces fungal risks.
The chart you’ll use isn’t just a rulebook—it’s a flexible guide to help you customize for your unique growing conditions.
📚 In This Guide
- What you need
- Instructions
- Tips and common mistakes
- Wrapping up and next steps
What you need
- ● Seed spacing chart (printed or digital) – A clear, customized chart tailored to your plants (e.g., tomatoes, carrots, or basil). Pro tip: Laminate it for durability! ✨
- ● Gardening gloves – A pair of nitrile or cotton gloves to protect your hands from dirt and thorns.
- ● Measuring tape or ruler – A 12-inch or 24-inch tape measure for precision spacing (or a digital caliper for ultra-accuracy).
- ● Planting markers or labels – Wooden stakes, biodegradable labels, or popsicle sticks to mark rows and varieties.
- ● Hand trowel or transplanting tool – A stainless steel or ergonomic trowel for digging small holes without strain.
- ● Seeds or seedlings – Purchase high-quality, fresh seeds or healthy young plants from a trusted nursery.
- ● Watering can or hose with a gentle nozzle – A spray nozzle or drip irrigation attachment to avoid disturbing seeds.
- ● Compost or organic fertilizer – A balanced, slow-release fertilizer (e.g., 10-10-10) to boost early growth.
- ● String and stakes – For creating guidelines in your garden beds.
- ● Wheelbarrow or bucket – To haul soil, compost, or tools efficiently.
- ● Knee pad or cushion – Because gardening is hard on the knees! 😅
- ● Planting grid or template – A DIY wooden frame with pre-marked holes for even spacing.
- ● Sunlight meter or app – To confirm your garden’s light conditions before planting.
Precision planting: how to use a seed spacing chart
Perfect spacing prevents overcrowding—here's how to use a chart to grow strong, healthy plants.
📏 Step 1: Find Your Plant's Ideal Spacing
Start by locating your plant on a seed spacing chart, which lists mature plant width and spacing between seeds. For example, carrots need 1-2 inches apart while sunflowers require 6-12 inches. Check the chart for both in-row and between-row spacing—this ensures roots and leaves have room to grow without competing.
I always double-check the chart before planting because overcrowding leads to weak stems and poor air circulation, which invites disease. The spacing listed is for mature plants, so if you're planting early, you'll thin seedlings later to reach the recommended distance.
📝 Step 2: Mark Your Planting Layout
Use the chart to sketch a simple grid on paper or directly on the garden bed with a stick or string. For instance, if your chart says tomatoes need 18-24 inches apart, mark those intervals clearly. This step is especially important in raised beds or containers where space is limited.
I like to use a tape measure and small wooden stakes to mark rows and individual planting spots. This prevents guesswork and ensures consistent spacing, which is critical for even growth. If you're planting in rows, leave extra space between rows for easy access when weeding or harvesting.
✂️ Step 3: Plant Seeds at the Correct Depth and Spacing
Follow the chart's depth guidelines—usually 2-3 times the seed's diameter—and place seeds exactly where marked. For example, if the chart says to space basil seeds 12 inches apart, use a small ruler or measuring tape to maintain that distance. Planting too close forces seedlings to fight for nutrients and light.
I tap the seed packet gently to release one seed at a time, then use my finger to create a tiny hole at the marked spot. Cover it lightly with soil, then water gently to settle everything. If you're planting in rows, use a stick or dowel to keep seeds evenly spaced as you go.
🌱 Step 4: Thin Seedlings to Maintain Spacing
Once seedlings emerge, refer back to the chart to determine how many to keep. For instance, if the chart says to thin carrots to 2 inches apart, use scissors to snip unwanted seedlings at soil level. This might seem harsh, but thinning ensures the remaining plants have enough space to grow strong and healthy.
I always thin on a cloudy day to reduce stress on the plants. Pulling seedlings in direct sunlight can shock the remaining ones. After thinning, water gently to help the remaining plants recover and establish their roots in the newly available space.
🌿 Step 5: Monitor and Adjust as Plants Grow
Check your spacing chart periodically as plants mature. If you notice leaves touching or stems leaning toward each other, it's time to thin again or transplant some plants to a different location. For example, if your chart says zucchini need 3 feet apart but they're already touching, separate them immediately to prevent disease.
I keep a small notebook nearby to jot down any adjustments I make, like moving a crowded tomato plant or adding support for tall varieties. This helps me refine my spacing strategy for next year. Proper spacing now means fewer problems—and more harvests—later.
Tips & tricks for perfect garden plant spacing
A few simple strategies can transform your garden from chaotic to thriving—let me share what I've learned after years of trial and error.
Chart Accuracy is Everything: Always verify spacing requirements for mature plants, not seedlings. For example, the chart might say tomatoes need 18-24 inches apart at maturity, but they'll start much closer. I keep a small notebook beside my chart to jot down which plants need thinning later—this prevents overcrowding before it becomes a problem.
Visual Marking Saves Time: Use a simple string or chalk line to create your planting grid before adding soil. This gives you a clear reference even when the bed is empty. For circular spacing (like around tomato cages), I use a small stick with a string tied to it—just measure the string to your required distance and swing it like a compass. This method is foolproof for any plant spacing.
Thinning Technique Matters: When it's time to thin seedlings in Step 4, use clean scissors to cut at soil level rather than pulling. This prevents disturbing the roots of your kept plants. I've found that thinning on a cloudy day reduces stress on the remaining seedlings, and I always water gently after to help them recover. The key is patience—don't rush this step!
Adjust for Your Climate: In hotter climates, you might need slightly more spacing between plants to prevent competition for water. I add an extra inch or two to the recommended spacing for vegetables like peppers and eggplants in my zone 9 garden. For cooler climates, you can plant slightly closer since growth will be slower. Always check your local growing conditions when interpreting the chart.
Pro Tips for Seed Spacing Chart
- A few simple strategies can transform your garden from chaotic to thriving—let me share what I've learned after years of trial and error.
- Chart Accuracy is Everything: Always verify spacing requirements for mature plants, not seedlings.
- Visual Marking Saves Time: Use a simple string or chalk line to create your planting grid before adding soil.
Frequently asked questions
Got questions about perfecting your seed spacing? You’re not alone! Here are some of the most common queries—and their answers—to help you grow with confidence.
What happens if I plant seeds too close together?
Overcrowding leads to competition for nutrients, water, and sunlight. Seedlings may grow weak, leggy, or even fail to thrive. Thin them early (once they have 2-3 true leaves) to avoid stunted growth or disease. Check your seed spacing chart for variety-specific guidelines!
Can I plant seeds too far apart?
Yes! While extra space won’t kill plants, it wastes garden real estate and may reduce yields. Follow the chart’s recommendations—most veggies and herbs need just 1–4 inches between seeds, depending on maturity size. Pro tip: Interplant fast growers (like radishes) with slow ones (like carrots) to maximize space!
Does weather affect seed spacing?
In dry climates, wider spacing (e.g., 3–4 inches) helps roots access moisture. In humid areas, closer spacing (1–2 inches) can work if you thin aggressively. Always adjust for your zone’s rainfall and soil drainage—local gardening guides are your best friend.
What if I don’t have a seed spacing chart?
No chart? No problem! The seed packet often lists spacing needs. For common crops, here’s a quick cheat sheet:
Plant
Seed Spacing (inches)
Mature Spacing (inches)
Lettuce ½–1 6–12 Tomatoes ¼–½ 18–24 Carrots ½–1 2–3 Basil 2–3 6–8
My seedlings look crowded—how do I thin them without killing them?
Use sharp scissors or a knife to snip at soil level (not tug!) to avoid disturbing roots. For delicate plants like lettuce, thin on a cloudy day to reduce stress. Save the thinnings for salads or compost—waste not, want not! If you’re squeamish, try the “snail method”: Gently pull seedlings by their leaves (not stems) to avoid uprooting neighbors.
Wrapping up and next steps
Mastering the art of seed spacing is your secret weapon for a lush, high-yield garden! 🌱 Whether you're a seasoned green thumb or just starting, precision planting ensures healthier plants, fewer weeds, and bountiful harvests.
Now that you’ve got your seed spacing chart and tips, it’s time to roll up your sleeves and plant with confidence.
Ready to take the next step? Start small—try a single bed or container using your newfound knowledge, then expand as you gain confidence. Happy planting, and may your garden thrive! 🌿