Lawn
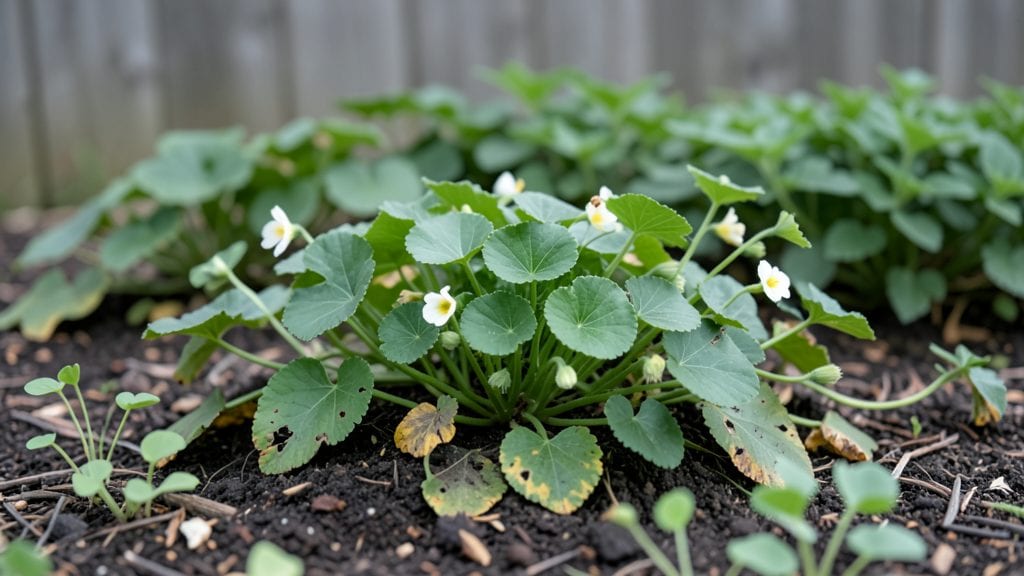
The seed savers aren’t just gardeners—they’re guardians preserving heirloom varieties that grocery stores can’t touch, and I started after tasting my great-grandmother’s tomatoes. 🌱 Now I’m hooked on passing down flavors and traits that matter.
The best part? You don’t need a greenhouse or fancy tools—just a few plants, patience, and a dry spot to store them.
This method works for tomatoes, beans, peas, and even flowers like zinnias. The key is picking the healthiest plants, letting seeds mature fully on the vine, and drying them properly to avoid mold.
I’ve saved seeds from the same pepper variety for three years now, and they’re still as spicy and productive as the day I started. It’s like gardening with a time machine—your great-grandkids could be growing the same beans you do today.
Once you master the basics, you’ll save money, reduce waste, and help keep rare varieties alive. Your garden becomes a living archive of flavors and resilience, and the process itself is oddly satisfying—like unlocking a secret skill from generations past. Let’s get those seeds ready for next season’s harvest.
We’ll cover everything from selecting the best parent plants to storing seeds so they stay viable for years. No green thumbs required—just curiosity and a little space in your kitchen cabinet. Here’s how to begin.
📚 In This Guide
- What you need
- Instructions
- Tips and common mistakes
- Wrapping up and next steps
What you need
- ● Heirloom Seeds: Purchase or obtain seeds from blank">The Seed Savers Exchange (or other trusted sources). Aim for 5–10 varieties to start.
- ● Growing Containers: Seed trays or pots (with drainage holes)
- ○ Biodegradable seedling pots (optional, for transplanting)
- ● Growing Medium: Seed-starting mix (sterile, well-draining soil blend)
- ● Compost or organic fertilizer (for nutrient boost)
- ● Watering Supplies: Spray bottle (for gentle watering)
- ● Watering can with a fine rose nozzle
- ● Lighting: Grow lights (LED or fluorescent, 12–16 hours/day)
- ● OR_ a sunny windowsill (south-facing preferred)
- ● Labels & Markers: Plant labels (wooden sticks or biodegradable tags)
- ● Waterproof marker (to record seed names/varieties)
- ● Harvesting Tools: Pruning shears or clean scissors
- ● Paper bags or breathable mesh bags (for seed drying)
- ● Humidity Dome: Clear plastic cover for seed trays (speeds up germination).
- ● Heat Mat: For seeds needing warmth (e.g., tomatoes, peppers).
- ● Seed Catalog or Journal: Track varieties, germination dates, and notes.
- ● Drying Rack: Mesh screen or rack for air-drying harvested seeds.
- ● Storage Containers: Airtight jars or envelopes (with silica packets for extra dryness).
How to preserve heirloom seeds using the seed savers method
Here's the straightforward process I use to save seeds from heirloom plants each season.
🌱 Step 1: Select and Harvest Mature Plants
Choose the healthiest, most productive plants from your garden—these will yield the best seeds for next year. For vegetables like tomatoes and peppers, let the fruit fully ripen on the vine until it's overripe and slightly soft. You'll know it's ready when the skin wrinkles or the seeds inside feel loose when shaken.
Harvest seeds during dry weather to prevent mold. For tomatoes, slice open the fruit and scoop out the gel and seeds. Rinse them gently in a bowl of water, then let them ferment for 3-5 days—this removes the gel and helps seeds separate. For beans and peas, simply allow pods to dry completely on the plant before harvesting.
💧 Step 2: Clean and Dry the Seeds
After fermentation, pour the tomato seeds into a fine-mesh strainer and rinse under cool water until the water runs clear. Spread seeds on a paper towel or seed drying screen in a single layer, ensuring they don't touch. Place them in a warm, dry spot with good airflow—a sunny windowsill or a fan-assisted drying rack works well.
For beans and peas, remove seeds from pods and spread them on a drying tray. They should dry for 1-2 weeks until completely brittle. Test by bending a seed—if it snaps cleanly, it's ready. Store seeds in a paper envelope (not plastic) to prevent moisture buildup, and label with the plant variety and harvest date.
☀️ Step 3: Store Seeds Properly for Long-Term Viability
Place dried seeds in a cool, dark place—a sealed glass jar in the refrigerator works perfectly. Heirloom seeds can last 5-10 years if stored correctly, but check them annually for signs of mold or pests. The key is keeping them dry and cool: humidity and heat are the enemies of seed longevity.
For extra protection, add a small packet of silica gel to the jar to absorb any moisture. Avoid freezing seeds unless you're storing them for decades, as repeated freeze-thaw cycles can damage viability. Label each jar with the variety name, harvest year, and any special notes (like disease resistance or flavor profiles).
⏰ Step 4: Test Seed Viability Before Planting
Before sowing saved seeds, test their viability by placing 10 seeds between a damp paper towel in a sealed bag. Keep them in a warm spot (70-75°F) for 5-7 days. If 80% or more sprout, your seeds are ready to plant. If fewer than half sprout, consider saving more seeds next season or sourcing fresh ones.
Plant saved seeds at the same depth and spacing as you would store-bought seeds. Heirloom varieties often have unique growing quirks—keep notes on what worked well (or didn’t) each year. This way, you’ll refine your seed-saving process and ensure the best results for future gardens.
Tips & tricks for perfect heirloom seed preservation
Preserving heirloom seeds properly ensures you'll have vibrant plants for generations—but there are key tricks that make all the difference. Here's what I've learned after years of seed saving.
Fermentation is Non-Negotiable: That 3-5 day fermentation step in Step 1 isn't just optional—it's crucial for tomato seeds. The fermentation removes that slimy gel that would inhibit germination. I learned this the hard way after planting seeds that didn't sprout because I skipped this step. Use warm water (around 75°F) for fermentation to speed up the process slightly without risking mold.
Drying Conditions Matter More Than You Think: For beans and peas in Step 2, aim for complete dryness—completely brittle seeds are your goal. I use a small fan on low setting near my drying trays to maintain consistent airflow. Humidity is the silent killer here; if your kitchen feels damp, consider using a dehumidifier or moving your drying setup to a warmer, drier room like a garage with good ventilation.
Storage Hack for Long-Term Viability: The refrigerator is perfect for short-term storage, but for seeds you want to keep for decades, consider a vacuum sealer. I've had seeds last 15+ years this way—just make sure to label everything clearly before sealing. The key is eliminating all moisture and oxygen, which are what cause seeds to degrade over time.
Viability Test Shortcut: When testing those 10 seeds in Step 4, place them in a clear plastic bag so you can easily see progress without opening it. I've found that keeping them in indirect sunlight (like on a windowsill covered with sheer curtain) gives slightly better sprouting results than complete darkness. This mimics natural light conditions that seeds would experience in soil.
Pro Tips for The Seed Savers
- Preserving heirloom seeds properly ensures you'll have vibrant plants for generations—but there are key tricks that make all the difference.
- Fermentation is Non-Negotiable: That 3-5 day fermentation step in Step 1 isn't just optional—it's crucial for tomato seeds.
- Drying Conditions Matter More Than You Think: For beans and peas in Step 2, aim for complete dryness—completely brittle seeds are your goal.
Frequently asked questions
Got questions about saving seeds with The Seed Savers Exchange? You’re not alone! Here are answers to some of the most common queries—from beginners to seasoned gardeners.
What’s the easiest way to start saving seeds?
Begin with open-pollinated heirloom varieties (like tomatoes, beans, or peas) from trusted sources like Seed Savers Exchange. Harvest when pods dry or seeds mature, then dry and store them in a cool, dark place. Start small—just a few plants—to build confidence!
How long do saved seeds stay viable?
Most seeds last 2–5 years if stored properly (50% humidity, 32–41°F). Check Seed Savers’ Seed Viability Chart for specifics—some, like onions, may only last a year, while beans or peas can last decades! Test germination by planting a few seeds to confirm.
Can I save hybrid seeds, or do they lose traits?
Hybrid seeds (like F1 crosses) won’t breed true—their offspring may not match the parent plant. Stick to heirloom or open-pollinated seeds from Seed Savers to preserve traits. Their catalog labels varieties clearly, so you’ll always know what you’re growing!
How do I prevent cross-pollination in my garden?
Isolate plants by 10–50 feet (depending on the species) or use physical barriers like mesh. For flowers, hand-pollinate with a brush. Seed Savers Exchange offers isolation tips for common crops—check their guides for specifics!
What if my seeds don’t germinate?
Try these fixes: Soak seeds overnight (for hard shells), check moisture (keep soil damp but not soggy), and ensure proper temps (most seeds need 60–85°F). If still no luck, test viability with a paper towel germination test—wrap seeds in a damp towel and check for sprouts in 5–7 days.
Wrapping up and next steps
The Seed Savers Exchange isn’t just about preserving seeds—it’s a movement to safeguard biodiversity, heritage, and the future of gardening. By saving heirloom varieties, you’re not only honoring tradition but also ensuring resilience for generations to come. Your garden can be part of this legacy!
Ready to take the next step? Start small—save seeds from a single heirloom plant this season and share your journey with the community. Whether you’re a beginner or a seasoned gardener, every seed saved makes a difference. 🌱 Let’s grow the future, one seed at a time!