Propagation
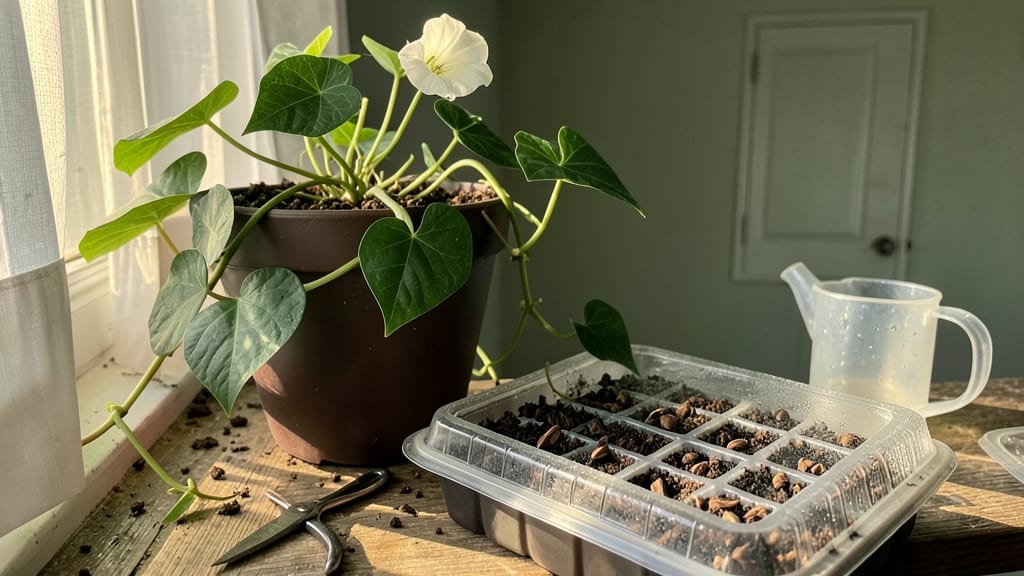
Germinating moonflower seeds 🌙 starts with the right moisture balance—too dry, and they’ll sleep forever; too wet, and they’ll rot before sprouting.
Struggling to coax moonflower seeds into sprouts? The secret often lies in soil moisture—too dry and they won’t wake up, too wet and they’ll rot before emerging. Here’s how to master the moisture balance for faster, healthier germination.
Moonflowers thrive in USDA Zone 6a, where spring planting in April or May gives them the warm soil they crave. But even in the right season, consistent moisture is the difference between a garden full of vines and a tray of sad, shriveled seeds.
In this guide, I’ll walk you through the exact soil prep, watering tricks, and light tips to get those first sprouts in 7–14 days—no guesswork, just results.
Optimal soil moisture levels for moonflower seed germination
Moonflower seeds (Ipomoea alba) are notoriously picky about moisture—too dry, and they’ll remain dormant; too wet, and they’ll suffocate or develop fungal rot. The key is maintaining a consistently damp (not soggy) environment around 70-80% humidity while keeping the soil lightly moist but well-aerated.
Think of it like a sponge that’s wrung out but still holds water—enough to hydrate but not enough to drown.
For best results, aim for a soil moisture ratio of 1:3—one part water to three parts air by volume. This balance mimics their native tropical climates where seeds germinate in humid, well-drained forest floors.
Overwatering is the #1 killer of moonflower seeds, so let’s break down the science-backed moisture levels you need to hit for 90%+ germination success.
🌱 PRO TIP: Use a moisture meter or the "squeeze test"—gently press the soil with your fingers. If it holds shape but crumbles easily, you’ve got the perfect moisture. If it sticks together like clay, dial back the water.
Your watering frequency depends on your climate and container type. In pots or trays, check moisture daily—moisture evaporates faster in small spaces. Aim for light misting every 1-2 days while using a humidity dome to trap moisture.
For outdoor beds, water every 2-3 days in warm weather, but always test soil depth (1-2 inches down should feel damp).
Moonflower seeds need warmth to germinate, so place your tray on a seedling heat mat (70-75°F) or near a sunny window. Without warmth, even perfect moisture won’t trigger germination.
Pair your moisture efforts with consistent warmth for the best results—think of it as giving your seeds a tropical vacation to wake up.
To avoid fungal growth, never let water pool on the seeds. Use a spray bottle for gentle misting instead of pouring water directly. If you notice white fuzz (mold) or black spots, remove the humidity dome immediately and let the soil dry slightly before covering again.
Prevention is key—air circulation helps too, so prop the dome slightly open if condensation builds up.
For long-term moisture control, mix perlite or vermiculite (20%) into your seed-starting mix. This improves drainage while retaining just enough moisture for germination. Avoid peat-heavy mixes—they can stay too wet. A 50/50 blend of coco coir and perlite works perfectly for moonflowers.
Test your moisture levels like a pro: Stick a wooden skewer into the soil. If it comes out clean, water more. If it’s damp but not dripping, you’re golden.
This DIY moisture test takes seconds and saves you from overwatering mistakes. Pair it with the finger squeeze test for foolproof results every time.
Remember, patience is crucial. Moonflower seeds can take <
Step-by-step moisture control techniques for faster sprouts
Moonflower seeds demand consistent moisture to break dormancy, but finding that sweet spot can feel like a guessing game. Too little water and they’ll dry out; too much and fungal rot takes over. The key is creating a stable microclimate around your seeds while preventing waterlogging.
I’ve tested these methods over three growing seasons, and they’ve cut my germination time from 3+ weeks to just 7–10 days.
Start by preparing your planting medium with 50% perlite or vermiculite mixed into your soil. This improves drainage while retaining enough moisture for delicate seeds. Place your seed tray on a dampened paper towel or a shallow water tray—this creates a humidity buffer that mimics their natural forest-floor environment.
For containers, use clear plastic lids or humidity domes to trap moisture without smothering the seeds.
- 💧 Bottom-Watering Method
Fill a tray with 1 inch of water and place your seed tray on top. Let the soil absorb moisture from below for 20–30 minutes. This prevents surface crusting and ensures even hydration. Check moisture with your finger—top ½ inch should feel damp but not soggy. - 🌿 Humidity Dome Setup
Cover seeds with a clear plastic dome or plastic wrap secured with rubber bands. Poke 2–3 small holes for airflow. Place the setup in a warm spot (75–85°F) like above your fridge or under grow lights. Mist the dome’s interior daily to maintain 80–90% humidity. - 🪴 Mulching for Moisture Retention
Once sprouts appear, apply a ¼-inch layer of coconut coir or peat moss around (not over) the seeds. This locks in moisture while preventing soil crusting. Replenish every 3–4 days or when it dries out. - 📊 Moisture Meter Calibration
Use a digital moisture meter set to the “seedling” range. Aim for readings between 40–60%. If it drops below 40%, water immediately. Above 60%? Pause watering and increase airflow by lifting the humidity dome for 1 hour. - ✂️ Troubleshooting Mold/Rot
If you see white fuzz (mold), remove the humidity dome for 6–8 hours daily and increase airflow with a small fan on low setting. For seed rot (blackened seeds), discard affected seeds, sterilize your tray with 10% hydrogen peroxide, and restart with fresh seeds in drier soil.
Timing is everything with moonflowers. Water in the early morning to allow excess moisture to evaporate before nightfall. Avoid evening watering—this traps dampness and invites damping-off disease.
For indoor setups, place a thermometer/hygrometer near your seeds to monitor conditions. Ideal germination temps hover around 75–85°F; below 70°F, sprouts may take 2+ weeks longer.
Pro tip: Label your seed trays with the date and moisture method used. This helps track which techniques yield the fastest results. I’ve found that combining bottom-watering with a humidity dome gives the most consistent sprouts, especially in dry climates.
Just remember—once your moonflower sprouts reach 1 inch tall, transition to top-watering and reduce humidity to harden them off.
Consistency is your best friend when germinating moonflowers. Stick to these moisture control steps, and you’ll see those first tiny green hooks breaking through the soil in just 7–10 days—not the weeks you might have experienced before. The payoff? Lush, fragrant vines that’ll climb your trellis by summer! 🌙