How To
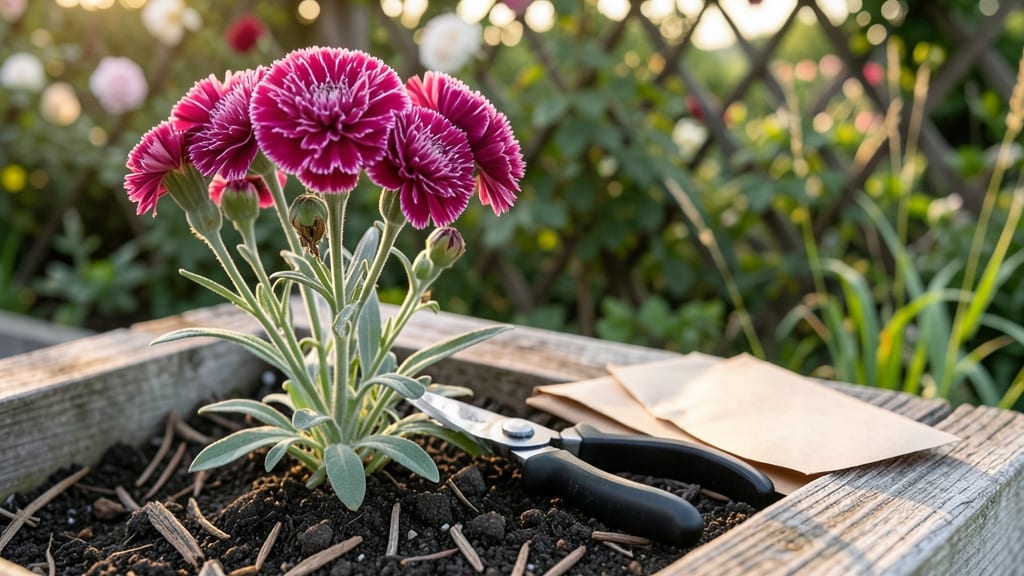
Harvesting carnation seeds 🌸 ensures you’ll grow your own vibrant blooms next spring, but timing is everything—collect too soon, and the seeds won’t sprout; wait too late, and they’ll scatter uselessly.
Picture this: your garden overflowing with fragrant carnations in spring, all from seeds you saved last fall. The key? Knowing when those dry, papery pods are ready to pick—before the wind steals them away.
Most gardeners skip seed harvesting, opting for cuttings instead, but there’s real magic in growing carnations from scratch. I’ll walk you through the exact moment to harvest, how to handle those delicate pods, and the best way to store them so they’re ready for planting when the time comes.
By the end, you’ll know when to harvest, how to tell if seeds are viable, and the simple tricks to boost germination rates—so your garden stays full of color year after year.

When to harvest carnation seeds: identifying mature seed pods for maximum viability
Harvesting carnation seeds at the right time ensures high germination rates and healthy new plants. The key is recognizing when seed pods reach maturity—not before they’re ready, but not after they’ve scattered their seeds naturally.
Carnations typically produce seeds September through November, depending on your USDA zone and local climate.
After a carnation flower wilts, it transforms into a seed pod that starts green but gradually dries into a brown, papery texture. This shift signals the seeds are nearing readiness.
However, rushing the process risks collecting immature seeds that won’t sprout, while waiting too long means losing seeds to wind or wildlife. Pay attention to visual cues and seasonal timing to strike the perfect balance.
Climate plays a critical role in seed maturity. In cooler zones (6a and below), pods may dry faster due to shorter growing seasons, while warmer climates (7b+) can delay maturation. Humidity also affects drying time—high humidity slows the process, while dry conditions speed it up. Always monitor your local weather forecasts for frost warnings, as early frosts can halt seed development prematurely.
One of the most reliable maturity indicators is the sound test. Gently shake a dried pod—if you hear seeds rattling inside, they’re likely ready. Another clue is the leaf condition around the pod: yellowing or dying leaves signal the plant is redirecting energy to seed production.
Ignore these signs at your peril, as missed opportunities can mean wasted blooms.
Seasonal timing varies by region, but most gardeners aim to harvest carnation seeds 4-6 weeks after flowering. In Northern climates, this often aligns with late summer to early fall, while Southern gardeners may extend harvesting into November. Always align your efforts with your local last frost date—seeds should be collected before winter sets in.
Now, let’s break down the critical stages of carnation seed pod development with a clear visual guide to help you identify the perfect moment for harvest.
| Stage | Appearance | Seed Viability | Action |
|---|---|---|---|
| Flower Wilting | Petals droop and fall; green pod forms. | Not viable; seeds not developed. | Monitor for color change. |
| Early Maturation | Pod turns light brown; leaves yellow. | Low viability; wait 2-3 weeks. | Check for seed rattle weekly. |
| Full Maturity | Dry, brown, papery pod; seeds rattle. | High viability; harvest immediately. | Collect pods before splitting. |
| Overripe | Pod splits open; seeds scatter. | Low viability; seeds lost. | No recovery; missed harvest. |
Once you’ve identified fully mature pods, act quickly to avoid losing seeds to the elements. The ideal harvest window is when pods are dry and papery but haven’t yet split open.
If you’re in a humid climate, consider harvesting slightly earlier to prevent mold or rot from developing on the pods. Always use clean, dry tools like pruning shears to avoid damaging the seeds during collection.
After harvesting, store seeds in a cool, dry place for 1-2 weeks to ensure full drying. Place them in a paper envelope or breathable container to prevent moisture buildup, which can lead to mold.
Label each envelope with the harvest date and carnation variety—this helps track viability and germination rates later. Pro tip: Test a few seeds after 3 months to confirm they’re still viable before storing the rest long-term.
If you’re new to seed harvesting, patience is key. It’s easy to mistake early-stage pods for mature ones, but rushing the process often leads to low germination rates. Take notes each season to refine your timing—your future gardens will thank you for the extra effort.
With practice, you’ll develop an eye for spotting the perfect moment to harvest carnation seeds, ensuring a reliable supply of blooms for years to come.
Remember, carnations are biennials, meaning they often bloom in their first year and produce seeds in the second. This makes them a great candidate for seed saving, as you can propagate your favorite varieties without buying new plants.
Just be prepared for a waiting period—some carnations take up to 180 days to mature seeds, so plan accordingly.
🌸
Step-by-step guide to collecting and storing carnation seeds for germination success
Harvesting carnation seeds is a rewarding way to grow new plants without buying them every season. However, the process requires precision—overripe pods scatter seeds, while underripe pods yield no viable seeds.
With the right tools and timing, you can preserve 90% seed viability for years. Let’s walk through the exact steps I use to collect and store carnation seeds for reliable germination.
Before you begin, gather your supplies: pruning shears, a paper bag or envelope, and a drying tray. Avoid plastic bags, as they trap moisture and cause mold. Work on a dry, sunny day when humidity is low—this minimizes contamination risks.
If you’re harvesting from multiple plants, label each bag with the variety name and harvest date to track germination rates later.
Look for dry, brown pods that rattle when shaken—this means seeds inside are mature. Avoid pods that are still green or firm, as they won’t produce viable seeds. Use your pruning shears to snip the stem just above the pod to prevent damage.
Place harvested pods in your paper bag immediately to prevent seed loss. If pods are still attached to stems, lay them on the bag to dry naturally. Never store wet pods, as excess moisture leads to mold growth and seed rot within 48 hours.
Spread pods on a drying tray in a well-ventilated area for 7–10 days. Turn them daily to ensure even drying. A fully dry pod will crumble easily when touched. If humidity is high, use a dehumidifier or place pods near a fan to speed up drying.
Once pods are dry, gently squeeze them over the paper bag to release seeds. Discard any pods that don’t release seeds—these likely contain empty or non-viable seeds. Use a fine mesh sieve to separate seeds from chaff if needed.
Place seeds in a paper envelope or airtight container with a silica gel packet to absorb moisture. Label with the variety and harvest year. Store in a cool, dark place (like a fridge) to maintain viability for up to 3 years.
Before planting, test a few seeds by placing them on a damp paper towel in a sealed bag. Check for sprouts in 7–14 days. If less than 50% germinate, store seeds longer or try a stratification method (chilling seeds for 4 weeks) to break dormancy.
If you notice mold or discoloration during storage, discard the affected seeds immediately. To prevent this, always store seeds in a cool, dry environment and avoid plastic containers. For large batches, consider vacuum-sealing seeds to extend their shelf life even further.
Properly stored carnation seeds will give you healthy seedlings ready for transplanting in spring. With this method, I’ve successfully grown second-generation carnations with identical colors and blooms to the parent plants. Happy harvesting!