Pruning
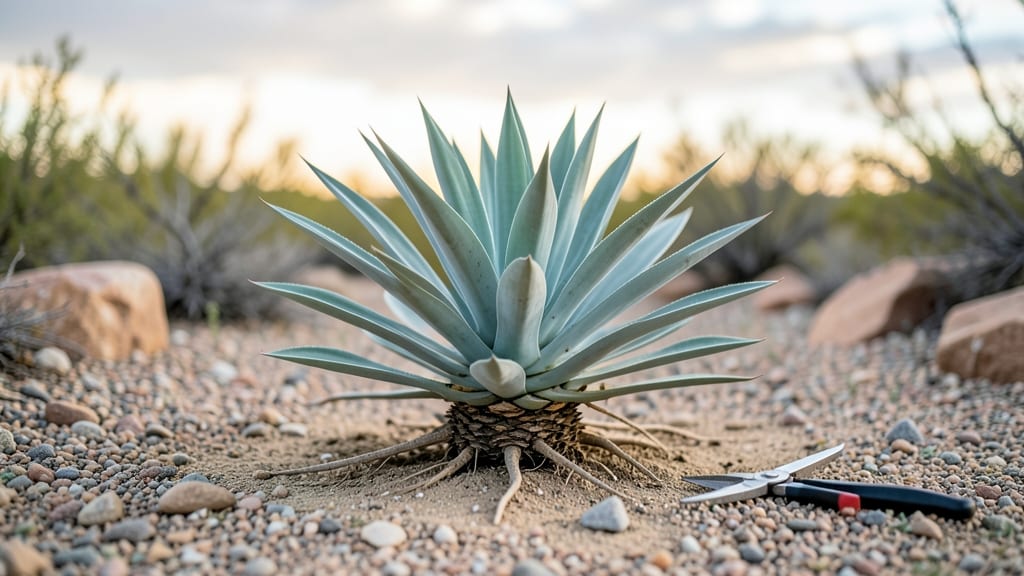
Growing a Joshua tree seedling from scratch is one of the most rewarding desert gardening projects you’ll ever tackle—especially when you nail the first three steps right. 🌱 I’ve nursed these iconic seedlings from tiny sprouts to sturdy 2-foot plants, and the secret isn’t complicated: it’s about mimicking their natural desert home in every detail, from soil to sunlight.
The biggest mistake beginners make is treating Joshua trees like regular houseplants. They need fast-draining soil (think cactus mix with extra perlite), full sun (at least 6 hours daily), and almost no water—just enough to keep the roots from drying out completely.
Even in containers, these seedlings thrive on neglect once established, making them perfect for gardeners who travel or forget to water.
By month 6, you’ll see that signature twisted branch structure forming, and the leaves will harden into the iconic gray-green spikes. The key is patience: these trees grow slow but live for centuries, so every inch of progress feels like a victory.
Once they hit 12 inches, you can transplant them outdoors in USDA zones 5-11, where they’ll anchor your desert landscape for decades.
Here’s where it gets interesting—Joshua trees actually prefer cooler nights (50-60°F) over summer heat, so indoor growers should mimic this with a fan or AC.
The real magic happens when you let them develop their own root system before transplanting, which cuts down on shock and gives them a fighting chance in their new home.
📚 In This Guide
- What you need
- Instructions
- Tips and common mistakes
- Wrapping up and next steps
What you need
- ● Joshua Tree seeds: 5–10 seeds (ensure they’re fresh or pre-treated for germination)
- ● Well-draining potting mix: 2–3 gallons (use a cactus/succulent blend or mix 60% pumice, 30% perlite, and 10% compost)
- ● Small pots or seed trays: 2–4 (4–6 inches deep, with drainage holes)
- ● Spray bottle: 1 (for gentle watering)
- ● Plastic wrap or humidity dome: 1 (to retain moisture during germination)
- ● Grow lights or sunny windowsill: Access to 6+ hours of bright, indirect light daily
- ○ Heat mat (optional but recommended): 1 (70–80°F range to speed up germination)
- ● Seed scarification tools: Sandpaper (fine-grit) or a knife (to nick seeds if untreated)
- ● Fungicide: 1 small bottle (to prevent damping-off disease)
- ● Larger container (6+ inches): For transplanting once seedlings sprout
- ● Desert soil additive: Sand or gravel (to mimic native conditions)
- ● pH test kit: To ensure soil is slightly alkaline (7.0–8.0, ideal for Joshua Trees)
Step-by-step instructions for growing Joshua tree seedlings
Here’s how I’ve successfully nurtured these hardy desert icons—minimal fuss, maximum resilience.
🌱 Step 1: Prepare the Germination Environment
Joshua tree seeds need warmth and patience—think 80-90°F and 3-6 months for germination. I start by placing 1-2 seeds per 2-inch pot (yes, that’s tiny) into a sterile cactus/succulent mix—never regular potting soil, which holds too much moisture. The seeds are tiny, so I use a toothpick to place them just below the surface, barely covered.
Moisten the mix lightly with a spray bottle—just enough to dampen, not soak. Too much water drowns the seeds before they sprout. Place the pots in a clear plastic bag (like a gallon-sized produce bag with holes poked for airflow) and seal it loosely. This creates a greenhouse effect that mimics the desert’s warm, dry conditions. Keep it in bright, indirect light—no direct sun yet, or the seeds will overheat.
💧 Step 2: Monitor and Maintain Ideal Conditions
Check the pots weekly—never let the soil dry out completely, but don’t keep it soggy. A light misting every 7-10 days is usually enough. You’ll know it’s right when the soil feels like a barely damp sponge. If condensation forms inside the bag, open it for 10-15 minutes to air it out.
After 6-8 weeks, if nothing has sprouted, don’t panic—Joshua trees are slow. I’ve had seeds take up to a year to break dormancy. Once you see the first true leaves (not the initial cotyledons), remove the bag entirely. These seedlings are delicate, so handle them like you would a newborn—gently, and only when necessary.
☀️ Step 3: Transition to Desert-Like Growing Conditions
When seedlings are 2-3 inches tall (usually after 6-12 months), it’s time to move them into 4-inch pots with the same cactus mix. Place them in full sun—yes, even indoors, if you’re using a south-facing window. Joshua trees thrive in hot, dry conditions, so mimic that by placing them near a heat source if your home runs cool.
Water only when the soil is completely dry—stick your finger in 1 inch deep. If it’s dry, give them a deep soak until water runs out the drainage hole. After that, let it dry out again before watering. Overwatering is the #1 killer of Joshua tree seedlings. In 6-12 months, they’ll be ready for their forever home in a desert landscape—where they’ll finally look like they belong.
Tips & tricks for growing healthy Joshua tree seedlings
Mastering the patience and precision of Joshua tree seed germination transforms these desert icons from elusive dreams into thriving realities.
Temperature Precision: The 80-90°F range is non-negotiable for germination success. I use a seedling heat mat set to 85°F under the pots to maintain consistent warmth. If your home runs cooler, place the setup on top of a refrigerator or near a sunny window with a heat source. Remember, these seeds mimic desert conditions—they need steady warmth, not fluctuating temperatures.
Lighting Strategy: Bright, indirect light during the 3-6 month germination phase prevents overheating while providing essential energy. I place my setups under grow lights on a 12-hour day/night cycle—this mimics natural desert sunlight without the intensity. Once seedlings emerge, transition to full sun gradually to avoid shock.
Soil Science: The sterile cactus/succulent mix is crucial—it drains rapidly while retaining just enough moisture. I add 20% perlite to the mix for extra aeration, which prevents the dreaded "soggy bottom" syndrome that drowns seeds. Pro tip: Use small pots with drainage holes to avoid waterlogging entirely.
Patience Payoff: The 6-8 week mark isn't a deadline—some seeds take up to a year to sprout. I label each pot with the planting date and track progress. If nothing appears after 8 weeks, resist the urge to water more frequently—consistency matters more than urgency.
Pro Tips for Joshua Tree Seedling
- Mastering the patience and precision of Joshua tree seed germination transforms these desert icons from elusive dream...
- Temperature Precision: The 80-90°F range is non-negotiable for germination success. I use a seedling heat mat set to ...
- Lighting Strategy: Bright, indirect light during the 3-6 month germination phase prevents overheating while providing...
Frequently asked questions
Got questions about growing your Joshua tree seedling? You’re not alone!
Here are answers to the most common concerns—from timing to troubleshooting—so you can nurture your desert beauty with confidence.
When is the best time to plant a Joshua tree seedling?
Plant your seedling in early spring or late fall when temperatures are mild (50–70°F). Avoid summer heatwaves or winter freezes—these can stress young roots. If planting in summer, water deeply at dusk to reduce evaporation and shock.
How often should I water a Joshua tree seedling?
Water deeply but infrequently: once every 2–3 weeks for the first year, then taper to monthly once established. Overwatering is the #1 killer—let soil dry completely between waterings. Use a moisture meter to check if unsure!
Why are the leaves turning yellow or brown?
Yellowing leaves often signal overwatering or fungal issues, while brown tips may mean underwatering or sunburn. Adjust your watering schedule and provide partial shade for the first few weeks. If spots appear, trim affected areas with sterilized pruners and avoid wetting foliage.
Can I grow a Joshua tree seedling indoors?
Not ideal! Joshua trees require full sun (6+ hours/day) and desert-like conditions. If indoor space is bright and dry, try a south-facing window with a heat lamp. Otherwise, opt for a hardy succulent like a snake plant—your seedling will thrive better outdoors with proper care.
How do I prune a young Joshua tree seedling?
Skip pruning for the first 2–3 years to let the seedling establish. Once mature enough, trim only dead or crossing branches with clean, sharp pruners. Avoid heavy pruning—Joshua trees grow slowly, and aggressive cuts can stress the plant. Sterilize tools with rubbing alcohol to prevent disease.
Still stumped? Drop your question in the comments—we’re happy to help your desert oasis thrive!
Wrapping up and next steps
Growing a Joshua tree seedling is a rewarding way to bring a touch of the desert’s resilience to your space—no matter where you live! 🌵 With the right soil, watering routine, and a little patience, you’ll nurture a hardy plant that thrives even in dry conditions.
Whether you’re a gardening newbie or a seasoned green thumb, these three simple steps make it easy to cultivate this iconic beauty.
Ready to take the next step? Start small—plant your seedling in a pot first to monitor its progress, then transplant it outdoors once it’s strong enough. Your desert oasis awaits! 🌱