
Plants
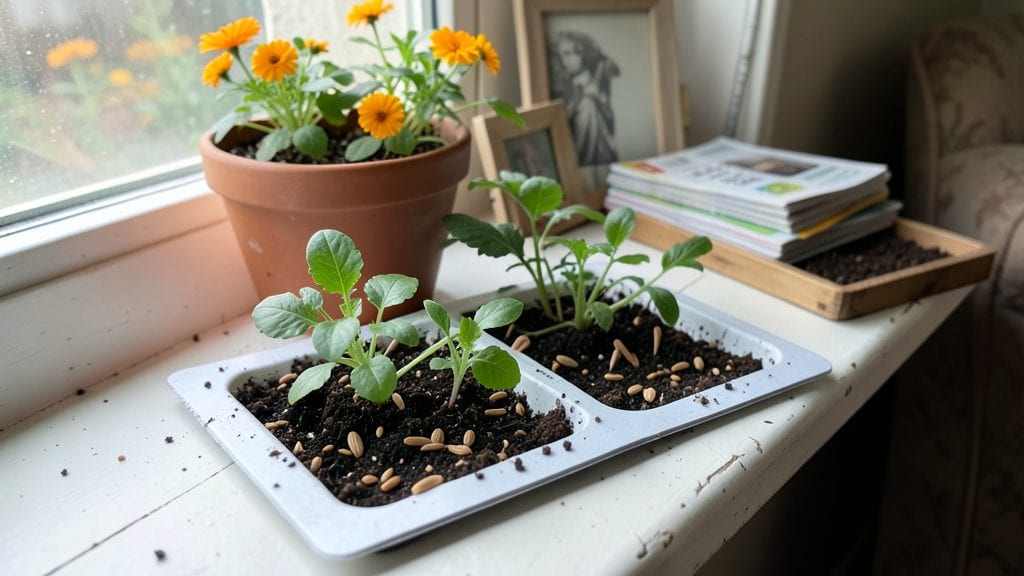
The seeding square template transformed my crowded garden into a high-yielding system where every inch counts. 🌱 I used to waste space between plants, leading to poor airflow and lost harvests—until I discovered how these simple grids maximize density while keeping plants healthy.
The trick is spacing seeds according to their mature size, not just what feels right.
You’ll need graph paper, a ruler, and a pencil to sketch your own templates—no fancy tools required. Each square foot becomes a precise map for your plants, whether you’re growing lettuce, carrots, or radishes.
The best part? You can adjust spacing as plants grow, ensuring they never compete for sunlight or nutrients.
With this method, you’ll fit twice as many plants in the same space without sacrificing yield. My zucchini went from two vines to six, and my herbs stayed lush instead of leggy. The templates also make succession planting easier—just swap in new seeds as old ones finish.
Perfect for raised beds, square foot gardens, or even container setups. Once you try it, you’ll wonder how you ever gardened without one. Let’s get those seeds organized!
📚 In This Guide
- What you need
- Instructions
- Tips and common mistakes
- Wrapping up and next steps
What you need
- ● Cardstock or thick paper – 1 sheet (11" x 17" or larger, for durability). Pro tip: Use a bright color for visibility! 🌈
- ● Ruler – A 12-inch metal ruler for precision measurements.
- ● Pencil – A sharp HB or 2H pencil for marking lines.
- ● Eraser – For correcting mistakes (because even pros need fixes!).
- ● Scissors or craft knife – To cut out the template neatly.
- ○ Grid paper (optional but helpful) – For sketching the layout before transferring it.
- ● Graph paper or printable grid – If designing digitally, use a 1/4-inch or 1/2-inch grid for accuracy.
- ● Laminator or clear tape – To protect your template from moisture if used outdoors.
- ● Markers or colored pencils – For labeling plant types or spacing guidelines.
- ● Measuring tape – For verifying garden bed dimensions before cutting.
- ● Stapler or binder clips – To secure multiple layers if making a reusable template.
How to use a seeding square template for optimal plant spacing
This method transforms tight spaces into high-yield gardens—no more wasted room or overcrowded plants.
🌱 Step 1: Understand the Grid System
The seeder's square template divides your planting area into 1-foot squares, each representing a single plant's mature footprint. For example, a tomato plant gets its own square, while radishes share space with carrots. Draw a simple grid on graph paper or use a pre-made template—each square equals 12 inches by 12 inches.
I start by sketching the layout on paper first. This helps visualize spacing before digging. For instance, place tall plants like corn or sunflowers on the north side of the grid so they don’t shade shorter crops. Label each square with the plant type to avoid confusion later.
📏 Step 2: Measure and Mark Your Planting Area
Use a 12-inch ruler or measuring tape to mark off your grid directly in the soil. Stake or spray-paint the lines to keep them visible—this prevents accidental overcrowding. For a 4-foot by 4-foot bed, you’ll have 16 squares, perfect for 4 servings of each plant.
If working with raised beds, measure from the inside edge to avoid wasting space. I often add a 6-inch border around the perimeter for pathways or edge plants like lettuce. Double-check your measurements before planting—correct spacing now means fewer transplants later.
🌿 Step 3: Assign Plants to Squares Based on Mature Size
Refer to seed packets for mature plant width. A bush bean fits in a single square, but a zucchini needs two. I group plants with similar water and sunlight needs together—like basil and tomatoes in one section, and carrots with lettuce in another. This makes irrigation and maintenance easier.
For direct-seeding, follow the template’s spacing guidelines. For example, plant 4 radish seeds per square but thin to 1 plant when they sprout. If using transplants, place one per square and firm the soil gently around the roots. Avoid overpacking—roots need room to spread.
✂️ Step 4: Thin and Adjust for Optimal Density
Once seedlings emerge, use the template to thin them to the recommended spacing. For instance, if your square calls for 1 tomato plant, snip the weaker seedlings at soil level with clean scissors. This prevents competition for nutrients and reduces disease risk.
Watch for signs of overcrowding—yellowing leaves or stunted growth mean it’s time to adjust. I often add a second square to larger plants like peppers if they outgrow their initial space. The template is flexible; just stick to the grid’s 12-inch rule for consistency.
🌱 Step 5: Maintain and Rotate for Next Season
After harvest, sketch a new layout on the same grid. Note which plants thrived and which struggled—this helps refine future designs. For example, if your tomatoes needed more space, expand their squares next year. Rotate crops annually to prevent soil depletion and pest buildup.
I keep a small notebook with each year’s grid layout. It’s a game-changer for tracking what worked and what didn’t. With this system, even a 4-foot by 4-foot bed can produce enough for a family of four—no guesswork, just precision.
Tips & tricks for perfect seeding square layouts
A few simple strategies will help you maximize your garden's potential and avoid common spacing mistakes.
The Plant Placement Secret: In Step 1, when sketching your layout, always place taller plants like sunflowers or corn on the north side of your grid. This prevents them from shading shorter crops throughout the day. I've learned the hard way that ignoring this can turn a thriving garden into a shadowy disappointment by mid-summer.
Visual Marking Hack: For Step 2, instead of trying to eyeball your 12-inch squares, use a simple garden hose to create a perfect grid. Lay it down in straight lines and adjust until you have consistent 1-foot squares. This method saves time and ensures precision, especially when working with larger garden beds.
Thinning Made Easy: When you reach Step 4 and need to thin seedlings, use a pair of clean scissors to snip at soil level rather than pulling. This prevents disturbing the roots of nearby plants. I keep a small bucket nearby to collect the thinned seedlings for compost or relocating to a different area of the garden.
Seasonal Record Keeping: The notebook I mentioned in Step 5 doesn't have to be fancy—just a simple spiral notebook works. I divide each page into two columns: "Worked Well" and "Needs Adjustment." This helps me track which plant combinations thrive together and which need more space each year.
Pro Tips for Seeding Square Template
- A few simple strategies will help you maximize your garden's potential and avoid common spacing mistakes.
- The Plant Placement Secret: In Step 1, when sketching your layout, always place taller plants like sunflowers or corn on the north side of your grid.
- Visual Marking Hack: For Step 2, instead of trying to eyeball your 12-inch squares, use a simple garden hose to create a perfect grid.
Frequently asked questions
Got questions about using a seeding square template? We’ve got answers!
Whether you’re a gardening newbie or a seasoned green thumb, these FAQs will help you master the technique with ease. Let’s dive in!
What exactly is a seeding square template, and why should I use one?
A seeding square template is a grid-based tool that helps you space seeds evenly in small squares (usually 4"x4" or 3"x3") for optimal plant density. It’s perfect for seed-starting trays, containers, or even direct sowing in garden beds. Using one ensures uniform germination, reduces overcrowding, and maximizes yield—saving you time and effort later when thinning seedlings!
When is the best time to use a seeding square template?
The ideal time depends on your plants, but generally:
- Seed-starting indoors: Use the template 2–4 weeks before the last frost date for fast-growing crops (like lettuce or radishes) or 6–8 weeks for slow growers (like tomatoes or peppers).
- Direct sowing outdoors: Wait until soil is warm (check seed packet guidelines) and after the frost risk has passed. Early spring or late summer/fall works for many veggies.
Can I make my own seeding square template if I don’t have one?
You can create a DIY version with:
- A piece of cardboard or thin wood cut into squares (e.g., 3"x3" or 4"x4").
- Toothpicks or popsicle sticks glued into a grid pattern to mark planting spots.
- A clear plastic sheet with a printed grid (laminate it for durability).
What if my seedlings grow too close together after using the template?
Even with a template, overcrowding can happen—especially with fast growers! Here’s how to fix it:
- Thin seedlings: Use scissors or your fingers to snip or gently pull the weakest plants, leaving the strongest one per square.
- Transplant early: If roots are tangled, move seedlings to larger containers or the garden before they outgrow the space.
- Adjust spacing: For future plantings, check seed packet recommendations and reduce the number of seeds per square if needed.
Are seeding square templates only for vegetables, or can I use them for flowers or herbs too?
Not at all! Seeding square templates work wonderfully for:
- Flowers: Try marigolds, sunflowers, or petunias in 3"x3" squares.
- Herbs: Basil, parsley, or cilantro thrive in small spaces—just reduce seeds per square (e.g., 1–2 seeds instead of 4).
- Microgreens: Use a 1"x1" grid for dense, fast-growing sprouts.
Wrapping up and next steps
Mastering the seeding square template unlocks a world of efficient gardening—whether you're a space-conscious urban gardener or a large-scale farmer aiming for maximum plant density. 🌱 By following the right layout, spacing, and tools, you can transform even the smallest plot into a high-yielding powerhouse.
Ready to grow more with less waste?
Your next step? Grab your template, sketch your garden, and start planting with confidence! For extra inspiration, explore customizable square foot gardening guides or share your layout with fellow green thumbs for feedback. Happy growing! 🌿