Lawn
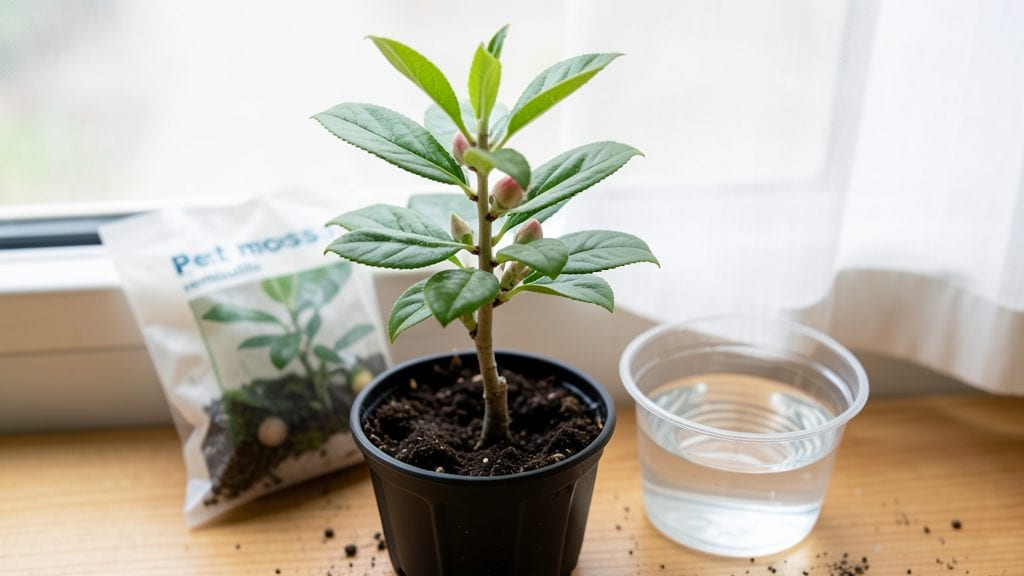
The secret to coaxing life from stubborn peach seeds lies in proper peach seed stratification, where cold, damp conditions trick them into breaking dormancy—something I’ve witnessed firsthand after just 60 days of treatment. The trick isn’t complicated, but timing and moisture are everything.
You’ll need coarse sand, a sealed container, and patience—think of it like giving your seeds a winter nap in controlled conditions. Most gardeners overlook this, then wonder why their peach seeds take years (or never) to sprout.
The right mix of cold and moisture breaks dormancy, and within weeks, you’ll see tiny roots pushing through.
By the time spring arrives, you’ll have seedlings ready to transplant, not the weak store-bought saplings that struggle in your climate. The payoff? Trees that mature faster and produce fruit closer to their natural lifespan—though that’s still years away, so don’t skip the cold treatment now.
Fair warning: mold or uneven germination can happen if you rush the process. But once you nail the moisture balance and storage temperature, you’ll be ahead of 90% of home growers. Here’s exactly how to do it right.
📚 In This Guide
- What you need
- Instructions
- Tips and common mistakes
- Wrapping up and next steps
What you need
- ● Peach seeds: 5–10 fresh, plump seeds (harvested from ripe peaches—avoid canned or processed fruit).
- ● Paper towels or coffee filters: 2–3 sheets (unbleached, seed-safe).
- ● Ziplock bag or airtight container: Medium-sized (quart or gallon size).
- ● Water: Distilled or tap water (room temperature).
- ● Refrigerator: A standard fridge with a steady 34–40°F (1–4°C) temperature.
- ○ Notebook & pen: Optional but helpful for tracking progress!
- ● Spray bottle: For gentle moisture control (instead of soaking).
- ● Small plastic tray: To catch any condensation drips.
- ● Label maker: To mark your bag with the date (pro move!).
- ● Heating mat (post-stratification): Speeds up germination once seeds are ready.
Step-by-step instructions for peach seed stratification
This cold-moist process mimics nature’s way of breaking dormancy—here’s how to do it right.
Extract and Clean the Seeds
Remove the pit from a ripe peach and crack it open carefully to reveal the seed inside. You’ll find a single large seed encased in a hard, brown shell. Rinse the seed under cool water to remove any remaining fruit pulp, which can attract mold. Pat it dry with a paper towel and let it air dry for 24 hours at room temperature. This step prevents rot during stratification.
I like to soak the seed in a glass of water overnight to help soften the outer shell slightly. The seed won’t germinate yet—this is just prep work. After soaking, rinse it again and let it dry completely before moving to the next phase. A damp seed now will mold before it even gets cold.
Prepare the Stratification Medium
Fill a small container—like a 4-inch plastic cup—with a mix of moistened peat moss and perlite (equal parts). The medium should feel damp like a wrung-out sponge, not soggy. Press it lightly to settle, then create a small indentation in the center deep enough to hold the seed. This setup keeps the seed consistently moist without waterlogging.
Place the container in a ziplock bag and seal it loosely to maintain humidity. Store it in your refrigerator’s crisper drawer, where temperatures stay steady at 35-40°F. This mimics winter’s natural cold period, which breaks the seed’s dormancy. Check the bag weekly to ensure the medium stays moist—spritz with water if it feels dry.
Stratify for 6-8 Weeks
Leave the seed in the cold, moist environment for 6-8 weeks. This is the critical period where internal changes occur—think of it as nature’s way of preparing the seed for spring. You won’t see any activity yet, but the seed is slowly waking up. I mark the start date on the bag to track progress.
After 4 weeks, gently check the seed by removing it from the medium. If the shell feels slightly softer or shows tiny cracks, it’s progressing. If not, give it another 2 weeks—some seeds need more time. The key is patience; rushing this step often leads to weak or failed germination later.
Transition to Warmth for Germination
Once the stratification period ends, remove the seed from the cold and place it in a small pot filled with sterile potting mix. Press the seed ½ inch deep into the soil, then water lightly to settle it. Cover the pot with a clear plastic dome or wrap it in plastic wrap to retain warmth and humidity. Place it in a warm spot—70-75°F—like on top of the fridge or under a grow light.
Germination can take 2-6 weeks, depending on the seed’s readiness. Keep the soil evenly moist (not soggy) and avoid moving the pot. You’ll know it’s working when a tiny green shoot breaks through the soil. This is the moment you’ve been waiting for—proof the stratification paid off.
Care for the Sprout
Once the seedling emerges, remove the plastic cover immediately to prevent damping-off disease. Place the pot in bright, indirect light for the first week, then gradually introduce direct sunlight as the seedling strengthens. Water when the top inch of soil feels dry, but avoid overwatering—peach seedlings are delicate.
Transplant the seedling into a larger pot when it reaches 4-6 inches tall, using fresh potting mix. Peach trees grow slowly, so don’t rush it. With proper care, your seedling could grow into a fruit-bearing tree in 5-7 years, but the stratification step ensures it starts strong.
Tips & tricks for perfect peach seed stratification
A few simple tricks can make all the difference in your seed's success—especially when working with such a delicate process.
The 24-Hour Drying Secret: Don't skip the full 24-hour drying period after cleaning your seed. I learned this the hard way after watching seeds mold within days of stratification. The key is complete dryness—pat it thoroughly and let it air dry at room temperature. This prevents rot that could ruin months of work. If you're impatient, you can speed up drying by placing the seed on a paper towel in a warm, dry spot for a few hours, but don't rush it completely.
Medium Consistency Matters: Your peat moss and perlite mix should feel like a wrung-out sponge—squeezing it should release just a few drops of water, not a steady stream. Too much moisture creates anaerobic conditions that can suffocate the seed, while too little prevents proper hydration. I like to mix the components in a bowl, add water gradually, and test by squeezing handfuls until I get that perfect dampness. This balance is crucial for maintaining that critical 35-40°F environment without encouraging mold growth.
Temperature Consistency Tip: While the refrigerator's crisper drawer maintains 35-40°F, I recommend placing a small thermometer inside your ziplock bag to monitor temperatures. Some refrigerators have hot or cold spots that can affect stratification. If you notice temperatures drifting outside this range, consider moving your setup to a different shelf or using a small insulated container. Consistency is everything—even slight temperature fluctuations can disrupt the dormancy-breaking process.
Optional: Speed Test After 4 Weeks: After the initial 4 weeks, you can perform a simple test to check progress without removing the seed completely. Gently press on the seed through the medium—if it feels slightly softer or shows minor cracks, it's responding well. If it remains rock-hard, extend the cold period by another 2 weeks. This check helps you avoid unnecessary waiting while ensuring the seed gets enough time to break dormancy properly.
Pro Tips for Peach Seed Stratification
- A few simple tricks can make all the difference in your seed's success—especially when working with such a delicate process.
- The 24-Hour Drying Secret: Don't skip the full 24-hour drying period after cleaning your seed.
- Medium Consistency Matters: Your peat moss and perlite mix should feel like a wrung-out sponge—squeezing it should release just a few drops of water, not a steady stream.
Frequently asked questions
Got questions about peach seed stratification?
You’re not alone! Here are the most common queries—and straightforward answers—to help you crack the code on faster germination.
What exactly is peach seed stratification, and why do I need it?
Peach seeds require stratification (a cold-moist period) to break their natural dormancy. Without it, they may take months—or never—germinate! This mimics winter conditions, tricking the seed into thinking spring has arrived. Think of it as a reset button for stubborn seeds.
How long should I stratify peach seeds?
Most peach seeds need 6–12 weeks of cold, moist stratification (33–41°F / 1–5°C). Check them weekly—if they’re dry, add a little water. Once sprouted, plant them immediately in warm soil. Patience pays off!
Can I skip stratification and still grow peach trees?
Technically yes, but germination rates drop dramatically. Some seeds may sprout in 6–12 months without stratification, but why wait? A few weeks of cold treatment boosts success from 50% to nearly 90%. Worth the effort!
What if my seeds mold or rot during stratification?
Mold or rot means too much moisture or poor airflow. Drain excess water, use a breathable container (like a paper towel-lined bag), and store in a cool, dark spot. If mold appears, discard the seeds and restart with fresh ones.
How do I know when stratification is working?
Success signs include tiny white roots (radicles) or a cracked seed coat. Once you see these, plant ASAP—don’t let them dry out! If nothing happens after 12 weeks, the seeds may be non-viable. Try new seeds or adjust your method.
Wrapping up and next steps
Mastering peach seed stratification unlocks the secret to faster, healthier germination—no more waiting months for your seeds to sprout! 🌱 By mimicking nature’s cold-moist cycle, you’ve given your peach seeds the best shot at life, whether you’re dreaming of a backyard orchard or just experimenting with gardening.
Now that you’re armed with the how-to, it’s time to roll up your sleeves and try it yourself.
Ready to take the next step? Start small:
- Test a few seeds this winter to perfect your method.
- Document your progress—note moisture levels, temperature shifts, and germination timelines.
- Share your success (or lessons learned) with fellow gardeners for a supportive growing community!